The strand test is essential before changing your look, it’s a way to avoid damaging your hair and get a preview of what the result will look like.
Thinking about changing your look? An important tip for this big change is to do the strand test. Far beyond excessive care, this test is essential to protect your hair, avoid unwanted results and carry out the procedure safely. However, many people and professionals end up skipping this step before carrying out the procedure, be it coloring, bleaching or even straightening.
The strand test is essential for any chemical procedure on hair, in order to avoid damaging the hair, causing allergies and even predicting what the final result will be like. If it doesn’t work on one strand, you’ll be thankful you didn’t do the procedure on your entire hair. Remembering that the measure should be adopted by both beauty professionals and those who are going to try changing their hair alone at home.
Therefore, today we will better understand the importance of the strand test and the step-by-step guide on how to do it.
Importance of the strand test
The aim of any hair change is to become even more beautiful and happy with your hair. However, this change can end up having the opposite effect, damaging the hair or even not having the desired result, especially when changing color.
This can happen due to several factors, such as previous procedures, straightening, sun exposure and even the hair being fragile. In this sense, the strand test is so essential, as its main purpose is to assess whether the hair is ready to undergo a chemical procedure and of course to have an idea of what the final result will look like, evaluating whether the color background is ready to receive the dye.
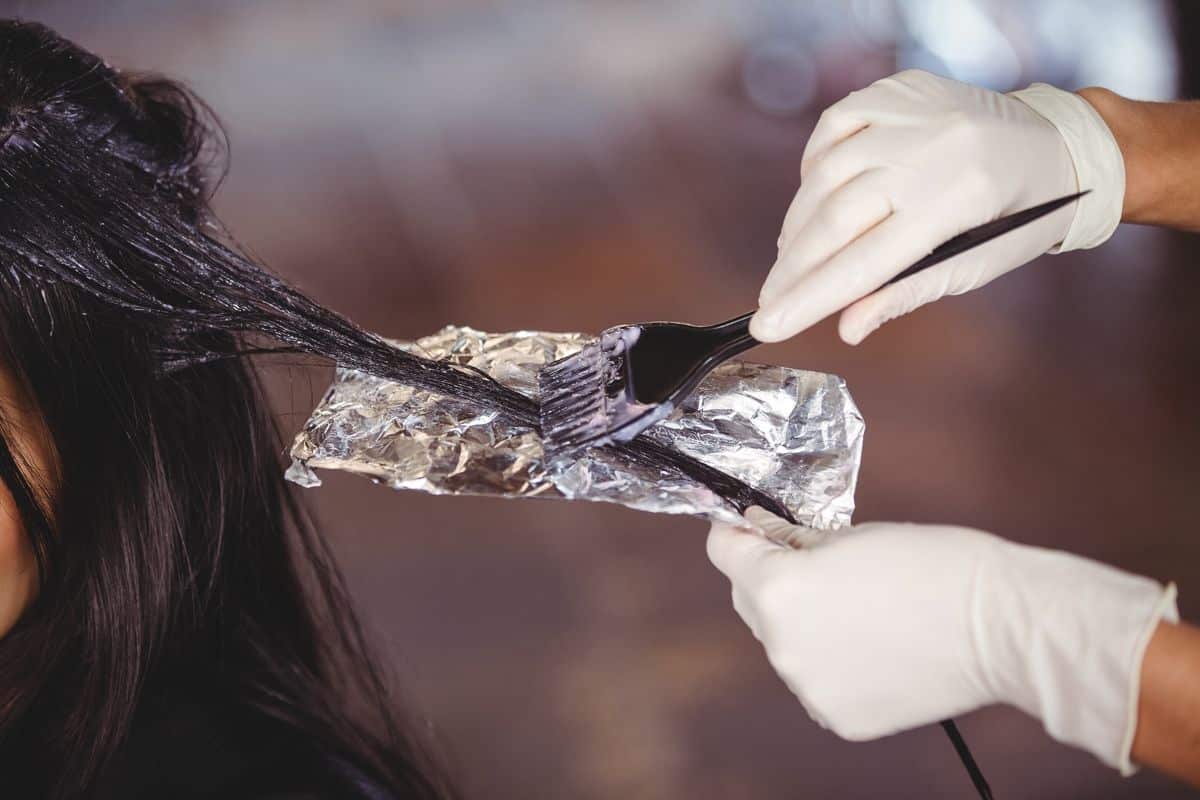
The test is generally done before bleaching or coloring the hair and also straightening, such as progressive straightening, for example, which as we know is a very aggressive procedure for the hair. In the case of changing color, it is a way to have a parameter of what the hair color will look like after dyeing, and whether the result is what the person wants. In addition, of course, carrying out the procedure safely.
Therefore, by doing the strand test you prevent an unwanted result and possible damage to the hair, which could lead to a chemical cut, for example. In addition, of course, you have an accurate idea of what your hair will look like after the change.
Step by step on how to do the strand test

So now that you understand the importance of doing the strand test, it’s time to learn in practice how to do it. Generally, the test is carried out shortly before applying the dye to the hair. However, according to experts, the ideal is to do this in advance, on average 5 days before carrying out the hair procedure. This way, it is possible to better analyze the hair’s reaction to the product, even after washing.
Another precaution is that before carrying out the strand test, a touch test must be carried out, another type of test to check whether the product, coloring or straightening will cause some type of reaction on the skin, such as irritation, itching or burning. The touch test is done by applying a small amount of the product on the arm or behind the ear and observing its effect for around 45 minutes.
If during this period you do not notice any adverse reaction to the product, you can perform the strand test, applying the product only to a small strand of hair. Check it step by step:
1st Step
First, separate a small section of hair at the back, preferably at the nape of the neck. This way, if the product causes damage to the hair, it will be less visible and will not compromise the entire look.
2nd Step
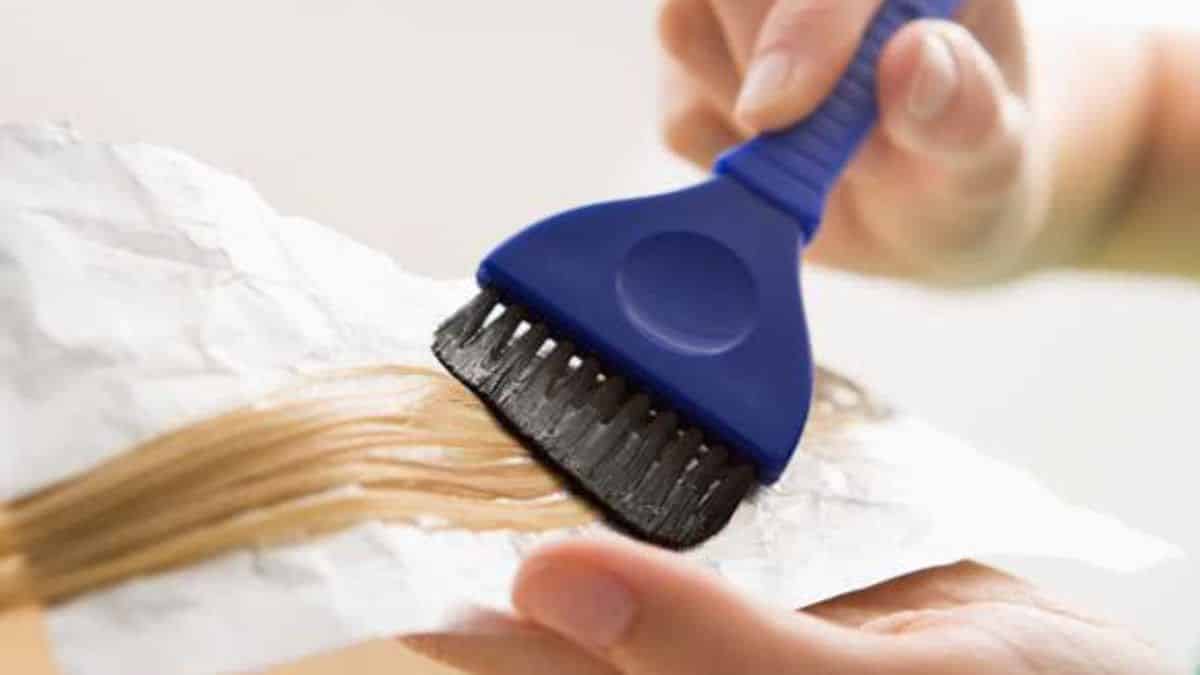
Then, apply the product, whether coloring or straightening, along the entire length of the separated strand. Be careful to keep 1 centimeter away from the root.
3rd Step
Then, after applying the product, wait for the effect time indicated on the product packaging. In the meantime, check your hair every 5 minutes to check if there are any changes or unwanted reactions. If this is the case, suspend the test and rinse your hair immediately to remove the product.
4th Step
After the product’s action time, wash the section of hair and evaluate the result and the condition of the strands. If the strand is very damaged, do not continue with the procedure on the rest of the hair.
If the strand test fails

It’s not uncommon for this to happen, the hair not receiving the product well, becoming damaged or the result not being as desired. If this happens, don’t despair, on the contrary, be grateful for having done the strand test. Imagine having done the procedure on all your hair and it going wrong? It would be much worse, wouldn’t it?
So, if this happens, respect the result and follow the professional’s recommendations. This does not mean that you will no longer be able to make the much-desired change. In this case, have a little patience and wait a little longer, during this time take the opportunity to treat your hair, strengthen and care for the hair fiber.
Invest in a hair schedule focused on reconstruction, to make your hair healthier and prepared to undergo the procedure without damage.
Anyway, what did you think of this article? In fact, take the opportunity to also check out 5 things you need to do before dying your hair.
Sources: Salon Line Beauty Color Salon Secrets
Images: Prohall Beauty Girl Real Talk Salon Line