Want long nails in just 10 minutes? Learn how to lengthen your nails with table salt and false nail glue:
Did the nail break or is it taking a long time to grow? If you want to have long nails and don’t want to spend a lot, know that the solution to your problem is in the kitchen. Because you can do nail extensions with refined salt, you know?
The person who teaches this “sorcery” is YouTuber Tatiane Baumjohann. In just 10 minutes, and with a little creativity, you can do this temporary stretching yourself at home.
However, not to say that you will only use salt, you also need to include glue for false nails and base in the list. You also need to have an improvised mold at your fingertips. As you will see, it will shape your new nail.
Mold for stretching
In fact, talking about the template, it can be made with a piece of laminated cardboard. Even that inner material from milk cartons works, you know?
In short, all you need to ensure is that the material used in the mold is coated with something metallic. In the end, this helps to remove the mold when the nail extension with salt is completed. This prevents the nail from breaking.
Furthermore, the whole procedure is quite simple and cheap. The step-by-step guide, in fact, can be found below.
Learn how to do nail extensions with table salt:
1. First of all, prepare a mold with the shape of your nail, like the one in the image.

2. Fit the mold close to the part of the nail that will be lengthened and finish attaching it to the finger with adhesive tape

3. Use the base to protect the parts of the nail where you don’t want the extension to stick, such as at the base of the nail, up to the middle and sides;
Also apply a little base coat to the paper, just above the nail, to help the mold come off more easily in the end.

4. Start stretching by applying false nail glue from the middle of the nail to a part of the paper (half a centimeter above, more or less), to define the size of the extension;
Always leave the extended nail longer than the ideal length for you, as it will need to be shaped at the end.

5. Using a coffee spoon, apply the first generous layer of salt;
Then, tap to remove the excess.

6. From there, you need to repeat the process about 4 times, alternating layers of glue and salt, until it becomes a relatively thick crust;

7. Let it dry for 10 minutes, carefully remove the mold and file the nail, shaping it so that it looks as natural as possible;
Also sand the top, so that it is smooth and can receive the nail polish of your choice.

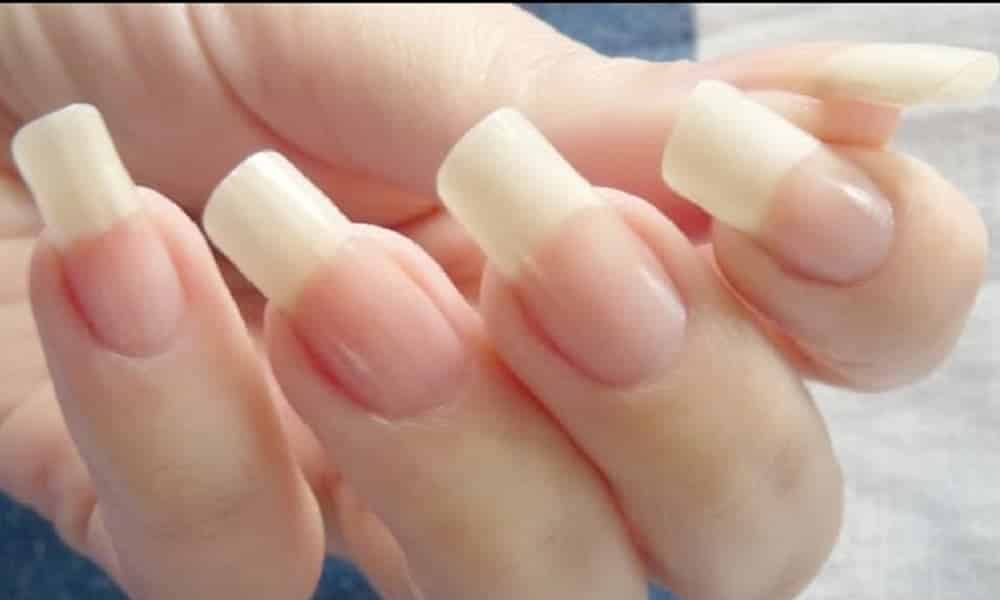
8. This is the result of stretching nails with salt. Cool huh? Then just finish with base and nail polish.

Video stretching nails with salt
See, in the video, how the nail stretching process happens in practice:
Did you like it? Now, before painting your extended nails, read also: 5 tricks to make your nail polish last longer.
Fonte: YouTube

Sign up for our newsletter and stay up to date with exclusive news
that can transform your routine!
Warning: Undefined array key "title" in /home/storelat/public_html/wp-content/plugins/link-whisper-premium/templates/frontend/related-posts.php on line 12
Warning: Undefined array key "title_tag" in /home/storelat/public_html/wp-content/plugins/link-whisper-premium/templates/frontend/related-posts.php on line 13