The cap is a simple and natural way to straighten your hair. Check out the step-by-step instructions and tips for taking care of your hair using this technique below.
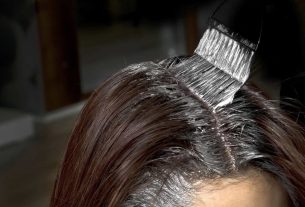
For the most part, hair straightening techniques are procedures that are very damaging to the hair, as they generally involve heat or chemicals. However, did you know that there is a homemade straightening technique that is simple, cheap, gentle on your hair and that really works? If not, learn how to make a hair bonnet today.
It is also known as Nero’s cap and straightens the hair in a natural way, requiring only a scarf and some hairpins to create the famous hair cap. Primarily, this is a very old technique, from a time when chemical straightening, as we know it today, was not so popular.
In short, the cap naturally aligns the strands because of the way they are wrapped and secured around the head with the clips. Once tied, the hair is wrapped with the scarf and must remain that way for hours, this way the strands will be forced to remain stretched and will retain their shape. When released, the locks will be smoother, with less volume and less frizz.
Guidelines for making a hair bonnet
The cap is a very simple and easy technique to make. However, there are some tricks that can enhance its straightening effect, generating better results and benefits for your hair. Between them:
Washing hair before using the cap
Wash your hair well beforehand to remove excess oil from your hair, preferably with a moisturizing shampoo and conditioner. This is because they make hair manipulation easier, generating shine and softness.
Dry well
If your hair is not completely dry when you tie it up, wait longer or use a hairdryer. This is because smothering the locks with moisture can lead to the proliferation of bacteria and fungi on the scalp or even cause breakage and damage to the hair.
Hydrate well
It is essential to use some oil or styling cream before tying up your locks. These products have a sealing action on the hair cuticle, therefore, they eliminate frizz, nourish and reduce volume.
Pay attention to the cap’s action time on your hair
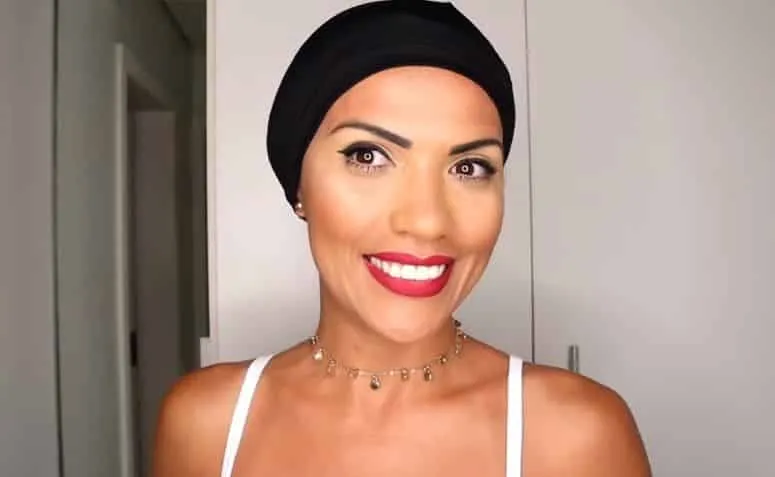
The cap must remain on the hair for at least 2 hours for it to take effect, the maximum recommended time is 10 hours. So, a good tip to obtain wonderful results in a practical way is to make the cap at bedtime. This way, when you wake up, just let go of the locks and finish as you wish. However, pay attention to the frequency, it is recommended that this technique be used, at most, three times a week.
What type of cap to wear on your hair?
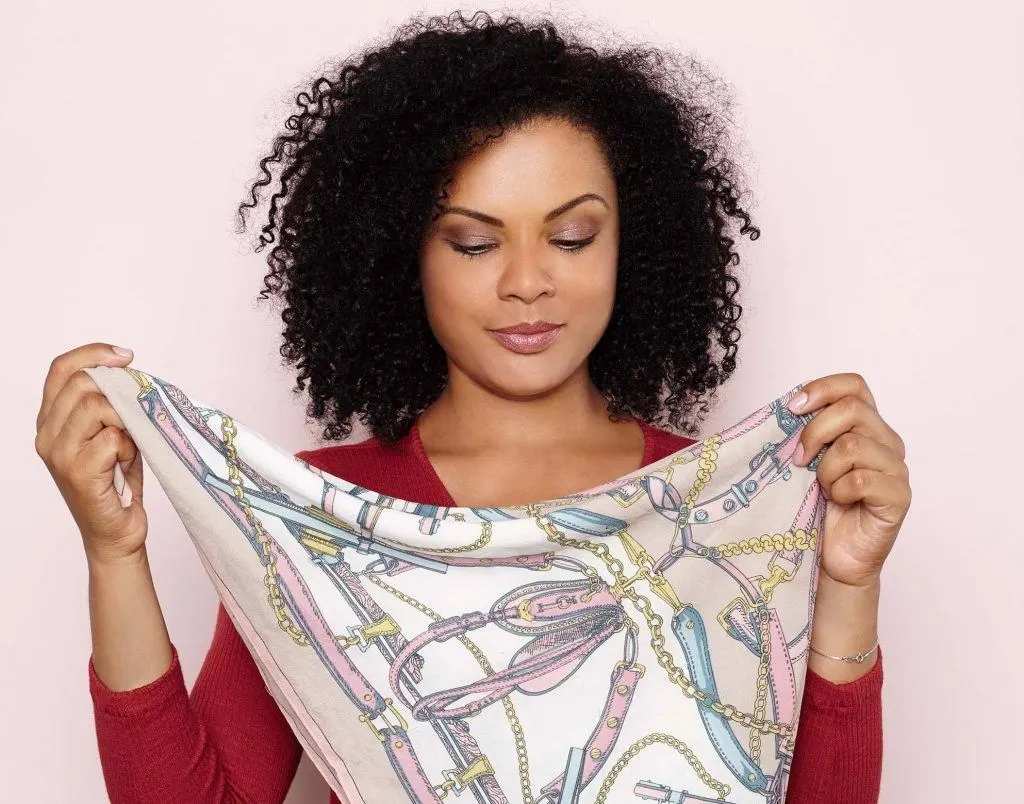
At first, pay attention to the choice of scarf or fabric you will use for this technique. When choosing the fabric to make your hair cap, prioritize materials similar to tights. This material has several holes, ideas to allow the scalp to breathe and not be so stifling.
By the way, even your used pantyhose can be cut up and turned into a scarf for your hat. In this sense, just use the part of the pantyhose that would fit around your waist, the elastic will be what will be around your head. As for the leg part, cut the entire length, leaving just a few centimeters to tie a knot, which will be at the top of your head.
Regarding staples, the same traditional staple can be used. The only care to be taken is regarding its placement. The wavy part of the clip should always be placed underneath the strand, as it can mark the strands after they are released.
Finally, remember that this straightening technique is suitable for all hair types. However, a final tip is for hair with tight curls. To guarantee the straightening you are looking for, it is best to use a simple brush, this way the effect of the cap will be more evident and lasting. Another trick is for progressive locks, as this technique is a great way to keep hair straight for much longer.
Step by step how to make a hair bonnet
Finally, let’s go to a detailed step-by-step guide on how to make a hair bonnet.
- First, wash your hair beforehand and let it dry completely, with a hairdryer or naturally;
- Later, use oils or styling creams to seal the hair cuticles and make them softer;
- Comb your hair well, removing all knots and tangles;
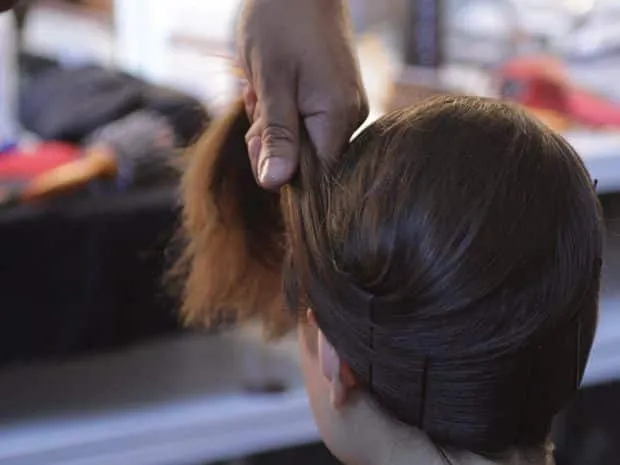
- To secure, start by separating your hair in half, into sections;
- Then, take the back strand and bring it to the front of your head, and the front strand to the back of your head. Thus, the hair takes the form of a cap;
- Place hairpins along the length of the strands, add as many as you want and deem necessary, the only requirement is that the strands are tight and well fixed around the head;
- Finally, when all the strands are well secured, put on the cap. Make sure to secure it tightly to your head, but not too tight.
- After the necessary hours, let your hair down and finish as you wish.
Ready! Your homemade straightening with nero cap is done. After all, did you enjoy learning this hair trick? So also check out about sleeping with wet hair.
Fonte: All Things Hair, All Things Hair, Cabelo.
Imagens: Oleoterapia Brasil, Trend Today, All Things Hair, Greatist.

Sign up for our newsletter and stay up to date with exclusive news
that can transform your routine!
Warning: Undefined array key "title" in /home/storelat/public_html/wp-content/plugins/link-whisper-premium/templates/frontend/related-posts.php on line 12
Warning: Undefined array key "title_tag" in /home/storelat/public_html/wp-content/plugins/link-whisper-premium/templates/frontend/related-posts.php on line 13