New nail products never stop appearing on the market. Every year new decoration techniques, colors and print textures are launched, which win over women of all ages and styles, right? And one of the new features that women like most is undoubtedly decorated nails. But why are they so successful? With the wide variety of designs and techniques available, we can create a different decoration for each type of occasion and make our appearance even more beautiful.
See too: Learn how to do decorated nails step by step

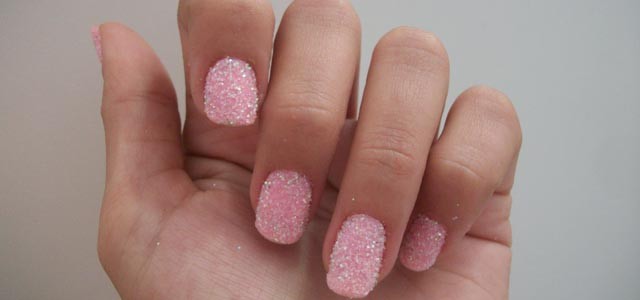
One of the decorated nail models that has been created and is still a hit with many women is the sugar nail style. Sugar nails, also known as sugar nails, were launched in 2012, and since then have been part of the look of many modern women who like to always add a different touch to their look. Therefore, if you consider yourself a modern woman who is always following the best fashion trends, it is worth investing in this decoration model.
See too: Cracked nails are on the rise! Learn step by step!

One of the advantages of opting for decorated sugar nails is that they can be used on all types of occasions, from everyday situations to situations that require a more elegant and sophisticated look. But you might be wondering, why sugar nails? This name is just a nickname given to the shine left by the glitter used in this decoration, which is very reminiscent of sugar. In fact, this nail art is made with a very fine almost powdered glitter, it looks like sugar has been applied to the nails. It’s fun!
See too: Nails decorated with spikes step by step
Do you feel like opting for this unique and very cute decoration? So check out below how to do sugar decorated nails step by step, as well as two videos that will help you a lot in this process.
Decorated sugar nails step by step
Do you want to make your nails beautiful with the sugar nail technique? So check out the step-by-step instructions below, and watch the videos afterwards.
What will you need:
- Transparent base;
- White enamel;
- Nail stick;
- Fine white glitter or any other color;
- Nail polish remover.
See too: Nails decorated with cross

Step 1: With the ingredients in hand, start by doing your usual nails. Then apply a base coat.
Step 2: Then, apply the first coat of white nail polish from the brand of your choice. Clean off all excess with remover and wait for it to dry.
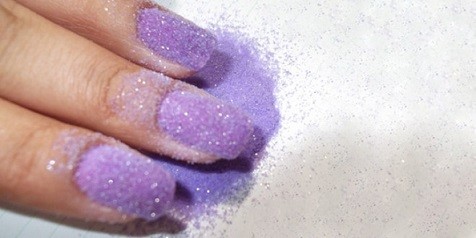
Step 3: After the first layer dries, apply the second coat of white nail polish and remove excess with a toothpick. While the nail polish is still wet, sprinkle a good amount of glitter on each nail.
Step 4: Clean excess glitter well with the help of a fan brush;
Step 5: To finish your decorated sugar nails, do not use any products, as they will create a rough effect similar to that of sugar.
To help you follow this step by step, we selected two tutorials that teach you how to do two types of sugar nails!
(ninja-inline id=9469)
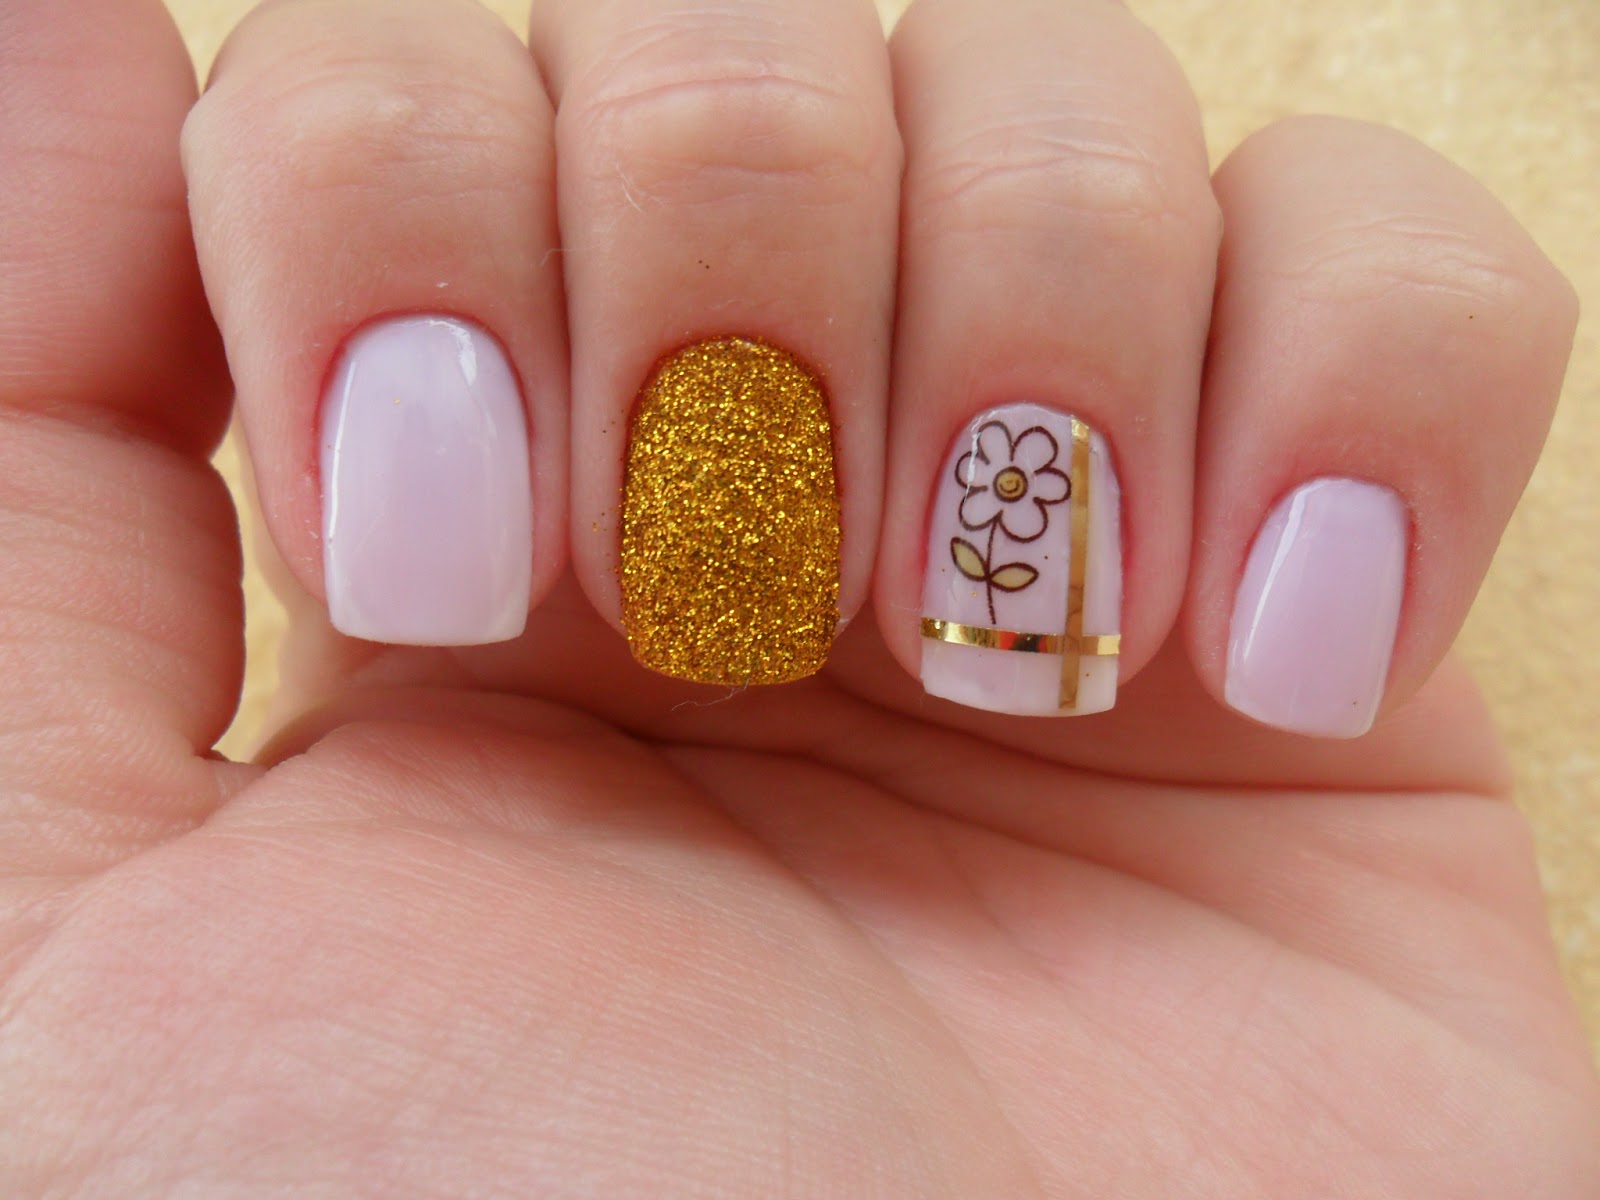
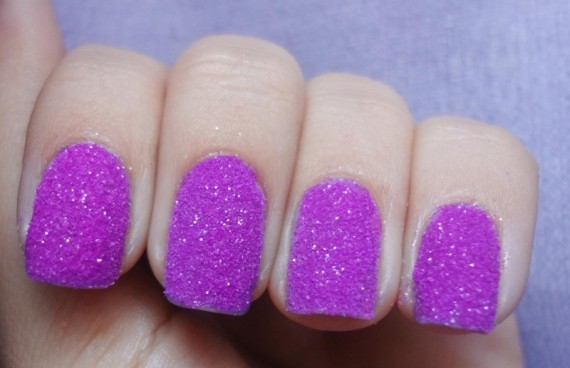
See more photos of sugar nails for inspiration!

Learn in an easy and didactic way to make various decorations. You don’t have to spend a fortune to have your nails always decorated. Learn which materials are suitable for each design. Various types of decorations for various occasions. Simple decorations for beginners. Professional results without leaving home. Various decorations that can be combined. Click here and learn about the course.
Images: Reproduction/Internet.

Sign up for our newsletter and stay up to date with exclusive news
that can transform your routine!
Warning: Undefined array key "title" in /home/storelat/public_html/wp-content/plugins/link-whisper-premium/templates/frontend/related-posts.php on line 12
Warning: Undefined array key "title_tag" in /home/storelat/public_html/wp-content/plugins/link-whisper-premium/templates/frontend/related-posts.php on line 13