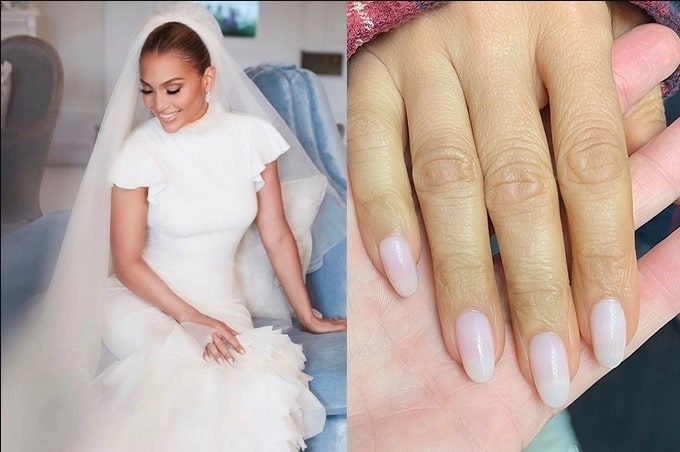
Milky nails mark the return of white nails with a shiny finish. In fact, J.Lo chose the trend to wear at her wedding.
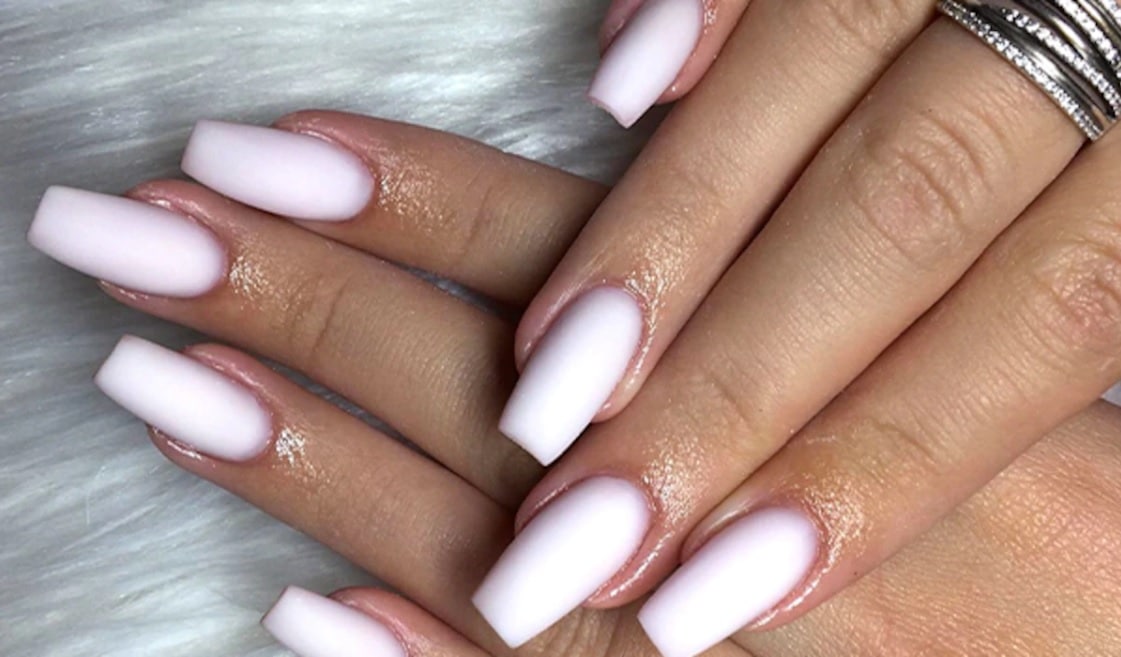
After the height of neon nail polish, nude, intense red and the usual black, white is back with full force. Call of Milky Nailswhich in Portuguese is translated as milky nails, the trend is characterized by using white enamel and a glossy finish It has been very successful among celebrities and has everything it takes to win over everyone.
And do you know who brought this trend with full force? Singer J. Lo, or Jennifer Lopez for those who don’t know the nickname. The singer recently married her past love, Ben Affleck in a lavish ceremony that attracted a lot of public attention. In addition to the exclusive Ralph Lauren dress, what caught our attention were J. Lo’s nails, with a semi-transparent, slightly shiny nail polish.
Therefore, Milky Nails is not only very charming, but despite being neutral, there is nothing dull about it. In fact, this type of nail polish with a white background makes for countless incredible nail art options. Next we will learn how to join Milky Nails.
What are Milky nails?
Milky nails, that’s right. White nail polish has made a big comeback. In fact, Milky nails are very reminiscent of another trend that was very successful, glazed donut nails, which bring a delicate shine to the hands.
Here the white background is the main attraction of the nail, but it doesn’t have to be something boring. Quite the opposite, Milky nails complement each other with a shiny finish, which gives the nails a natural effect, but at the same time very interesting. It is without a doubt a great option for weddings and J.Lo was perfect with her choice.
In the singer’s case, she kept her nails long and almond-shaped, but nothing prevents you from joining Milky nails in other nail shapes and sizes.
How to do Milky nails?

There isn’t much of a secret to joining the Milky nails trend, you can join the basic version, with layers of glitter or even applications of stones and other nail arts. But if you want something more similar to what Jennifer Lopez wore to her wedding, The person responsible for the diva’s nails, Tom Bachik, shared the complete step-by-step guide to achieving the effect on the American Glamor website. Check out:
Step 1
Firstly, Milky nails must have a gradient effect that goes from nude to white. So, creating this effect may be a little more difficult than it seems, but it is possible to do at home.
To do this, apply the nude nail polish on the edge of a makeup sponge and the white nail polish below. This way, the two nail polishes will create a gradient effect. Then, press the sponge onto your nails.
Step 2
Then, with another clean makeup sponge, apply only the white nail polish and press it onto the tip of the nail, to reinforce the white tone. The idea here is to make the tip of the nail whiter and an almost transparent nude tone towards the cuticle.
Step 3
Once this is done, wait a while for the nail polish to dry and only then clean the corners of the nail that may have had nail polish on it. To finish, use a glitter or glitter on top and it’s ready.
Nail art inspiration
And of course there couldn’t be a lack of nail inspiration in the Milky nails style, right? Therefore, we have selected several models of milky nails with nail art for you to draw inspiration for the next time you go for a manicure. Check out:
READ MORE:
Sources: Claudia Lorena Bernadete Terracciano

Sign up for our newsletter and stay up to date with exclusive news
that can transform your routine!
Warning: Undefined array key "title" in /home/storelat/public_html/wp-content/plugins/link-whisper-premium/templates/frontend/related-posts.php on line 12
Warning: Undefined array key "title_tag" in /home/storelat/public_html/wp-content/plugins/link-whisper-premium/templates/frontend/related-posts.php on line 13


