![Unhas de acrigel - [Fotos: shutterstock]](https://storelatina.com/wp-content/uploads/2024/04/1712196683_what-is-it-Advantages-and-disadvantages-of-the-procedure.jpg)
Nowadays there are several nail stretching techniques on the market. One that has stood out among the others are acrigel nails.
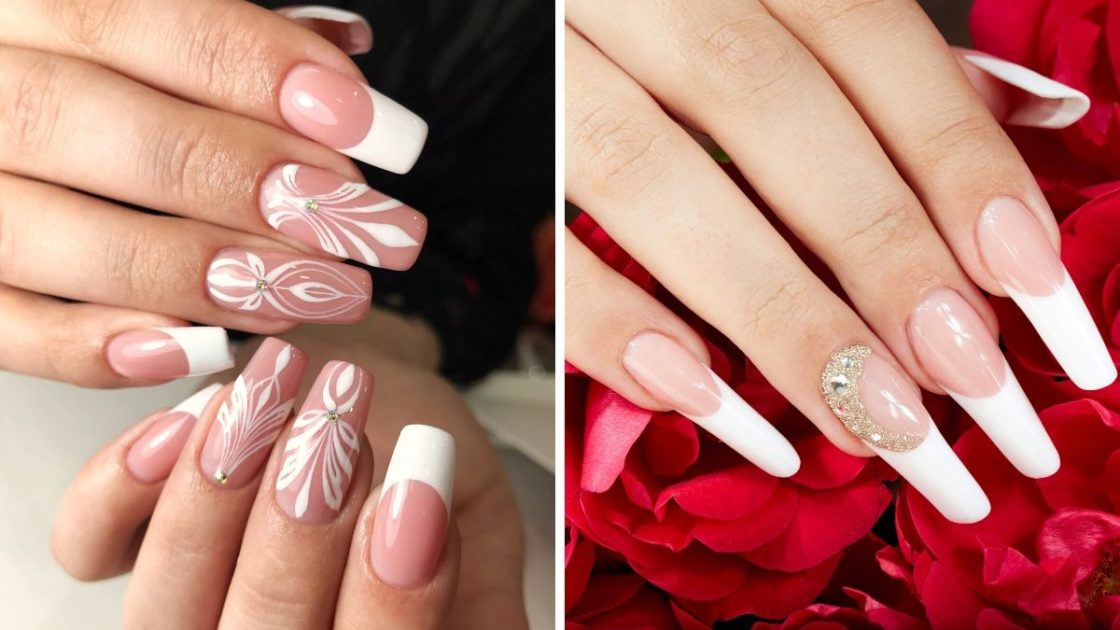
The technique is done by mixing acrylic powder with gel and applied to natural nails, making them more resistant.
In the procedure, “tips” are used to lengthen the nails. The tips work like a mold that is glued to the tip of the nails, which, in the vast majority of cases, are made of ABS plastic.
See too:
Advantages of acrigel nails
- Helps in the growth of natural nails, being a good alternative for those with weak and brittle nails;
- Nails look super natural and resistant;
- It has excellent durability (30 to 40 days);
- When glazed, the glaze does not peel off.
See too:
Disadvantage of acrylic nails
The disadvantage here is the application time, which can vary between 1 and 2 and a half hours.
See too:
Maintenance
As the days go by (about 30 to 40 days), you will notice a space, which will form a kind of step between your natural nails and the extension. During this period, it is extremely important to seek out a professional to carry out maintenance. It turns out that this space (which happens due to the growth of natural nails) will come into contact with water, air and humidity, which may cause fungus to form.
See too:
Care
- Use only acetone-free nail polish remover;
- Be careful not to hit your nails;
- Wear gloves if you are going to handle any type of chemical material, such as cleaning products;
- Do not “poke” objects with your nails. This, in addition to damaging your lengthening, could harm your natural nails;
- If your nail breaks, quickly seek out a professional to reapply the extension.
- When you want to remove the stretching, seek help from a professional, never do it alone, otherwise you could harm your natural nails, which could cause irreversible damage.
See too:
How are acrigel nails made?
1 – Nail preparation
First, using a spatula, remove the cuticles. Then, with a coarse or electric file, sand the entire surface of your natural nails, this will remove the oil and leave it rough. Use a finer file on the edges of your nails, close to the cuticles.
2 – Time to clean
After preparing your nails, filing them and removing all oil, clean them using cotton wool and 70% alcohol.
3 – Choose tips and paste them
After filing and cleaning your nails, it’s time to choose the tips for stretching. At this time, you should choose the one that best adapts to the natural shape of your nails. After choosing the tips, paste it in the indicated part. Don’t use too much glue, but don’t save too much either. Fit them onto your nails, pressing lightly for a few seconds.
When dry, cut the tips to the size you want. Then, apply the primer to your natural nails. Afterwards, a new gel primer over the entire nail, including the lengthening.
4 – Application of the gel
Using a brush, mix the gel with the acrylic powder, then apply it to the nails, taking care that the mixture does not touch the cuticle. Then place them in the UV booth for a few seconds. Then repeat the entire procedure applying a second layer of gel with acrylic powder.
5 – Finishing
After applying the gel and placing your nails in the booth for the second time, it’s time to file. File your nails until they are level and natural. Remember to respect the natural curvature of each nail. Afterwards, remove the cuticles and apply the nail polish of your choice.
See too:
Difference between the main stretching techniques
Acrylic nails: Made by mixing acrylic powder with gel, it is a technique that protects natural nails without damaging them, encouraging their growth. What’s more, the nails look super natural and resistant.
Fiber Nails: Popularly known as “fiberglass nails”, it is a technique made with fiber filaments molded onto natural nails, fixed with gel and placed in light booths. They are also very resistant and the result looks very natural. The procedure requires maintenance every 15 to 30 days.
Gel nails: Made with layers of a thin, transparent gel, molded to whatever size and shape the person wants. Maintenance is done every 15 to 20 days, this will depend on the growth rate of your natural nails. The nails look beautiful and natural, but it is a little less durable compared to other techniques.
Porcelain nails: Made with porcelain powder, making it rougher and with a sandy effect. They are a little thicker than the others, which makes the technique less natural. However, one of the advantages of this is its durability and ease of maintenance. Requires maintenance every 15 days.
Follow our publications on Google News and stay up to date on acrigel nails.

Sign up for our newsletter and stay up to date with exclusive news
that can transform your routine!
Warning: Undefined array key "title" in /home/storelat/public_html/wp-content/plugins/link-whisper-premium/templates/frontend/related-posts.php on line 12
Warning: Undefined array key "title_tag" in /home/storelat/public_html/wp-content/plugins/link-whisper-premium/templates/frontend/related-posts.php on line 13