When it comes to nails, creativity exceeds limits, making it possible not only to decorate them with countless designs and shapes, but also to create a “new nail” over the natural one and the desired size.
Nails decorated step by step
We are talking about porcelain nails that are “replacing” our natural nails and can then be decorated as desired or simply leave them as they were applied.
Find out everything about gel nails
For those who don’t have much experience in the subject, but are curious about doing it, it would be a good idea to look for a professional manicurist to do a nice finish. However, porcelain nails can be done at home too, after all, there is a first time for everything and day by day it improves.
Nails decorated for carnival

Who are porcelain nails suitable for?
Porcelain nails are mainly recommended for those who have the terrible habit of biting their nails. With porcelain nails it is not possible to bite them, as the taste and smell are not the best. It is also highly recommended for those with weak nails that break easily, as you can leave them the size and shape you prefer. Porcelain nail polish lasts around 15 days.
How to put on false nails step by step
How to do porcelain nails step by step at home
To do porcelain nails you will need a specific kit for this. This kit comes with an acrylic nail powder and a liquid called monomer. This mixture is what will form porcelain nails. In addition, the kit also contains a brush, glue, tips, pliers, sandpaper and everything needed to do the nail. The average price of the kit is R$120.00.
Learn how to protect and care for your cuticles
1. If you want long porcelain nails, you must first apply the tips – which are nothing more than a false nail, but which are fixed only at the tip of the nail, to give the shape you want later. The tips already come with the appropriate glue to stick to your nails. Hold the tips until the glue dries. If you don’t want long nails, you don’t need to use tips.
Nails 2014: Discover the trends
2. Once the tips are glued and dry, cut them to the desired size and sand them to obtain the desired shape.
3. Dip the brush first in the acrylic liquid and then in the acrylic powder.
4. Now apply this mixture to your nail. Notice that the porcelain is appearing. Don’t apply too much of the mixture, as it will be very thick and difficult to sand later. Apply enough so that it looks as natural as possible. Do this one by one.
How to have beautiful nails without removing the cuticle
5. Remove excess around the nail quickly, as the mixture hardens and wait for it to dry. Once dry, file over the nails if necessary, to remove bumps or things like that. Your porcelain nails are ready.
6. Now you can glaze them however you want.
Follow the step by step in the video below
Copy some porcelain nail ideas!!!
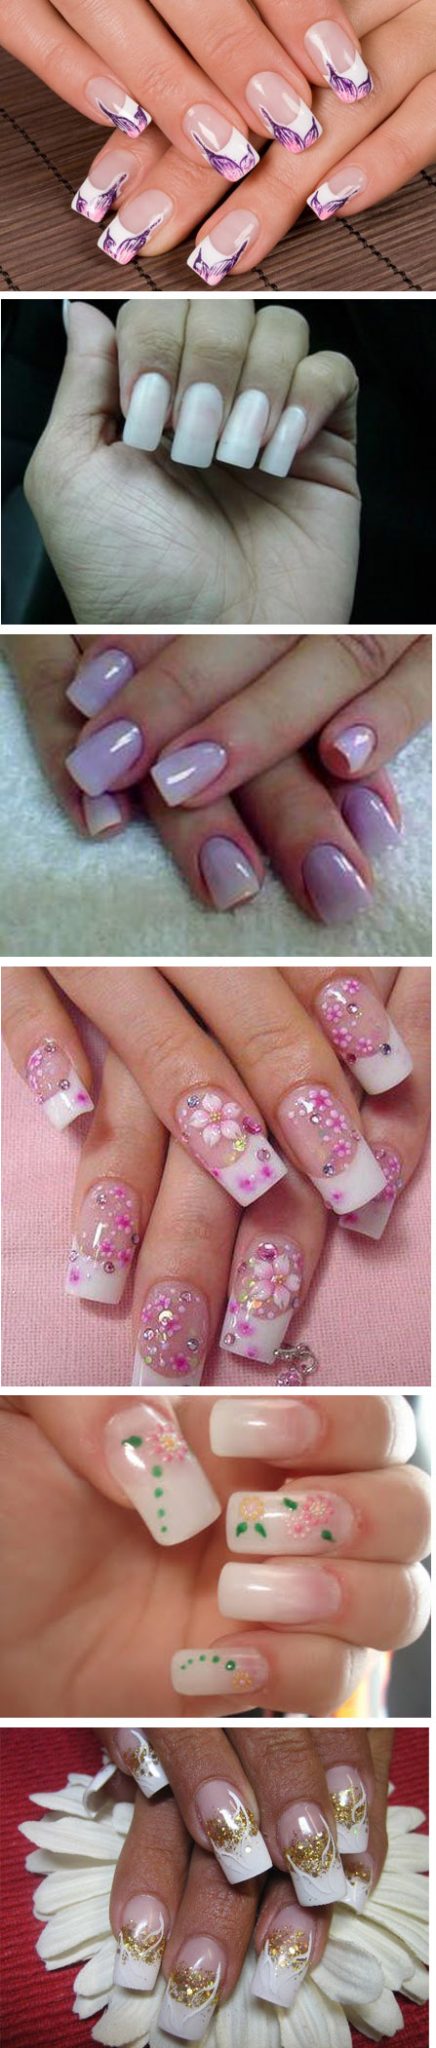
Images: Reproduction/Internet.

Sign up for our newsletter and stay up to date with exclusive news
that can transform your routine!
Warning: Undefined array key "title" in /home/storelat/public_html/wp-content/plugins/link-whisper-premium/templates/frontend/related-posts.php on line 12
Warning: Undefined array key "title_tag" in /home/storelat/public_html/wp-content/plugins/link-whisper-premium/templates/frontend/related-posts.php on line 13