So girls, it’s really bad when we have to cut our nails really short because they’re broken, isn’t it?
The worst part is when we have a party to go to and we need them to be impeccable and this happens, annoying isn’t it?
There are already several techniques out there on how to lengthen your nails at home without having to do procedures like gel or porcelain nails in salons.
The best of all is that everything is very cheap and we don’t need to spend a lot of money, and you’ll see, it looks just like a real nail.
It’s worth reading this article and discovering how one of these techniques is done, I’m sure you’ll love it!!
See: How to do gel nails step by step
Homemade recipe for nail extensions with wheat flour
You will need:
- 1 cup of wheat flour
- Super bonder glue
- 1 west
- 1 polishing sandpaper
- 1 scissors
- 1 brush, it can be any brush, just to remove powder residue from your nails
- 1 piece of cardboard or cardboard
- 1 durex
See Also: 4 Homemade Recipes to Strengthen Your Nails
How to make:
- First you will take the piece of cardboard or cardboard and cover it with ductex, put the ductex all over it, because this will be your nail support, if it is not covered, you run the risk of a piece of paper coming out underneath. of the nail you are going to create.
- You will rest this nail on the sides of the piece of cardboard or cardboard.
- Once this is done, you will apply super bonder glue to the tip of the nail and work your way up to the length you want (the nail has to be short)
- Sprinkle a little flour on top and remove the excess with the brush, repeat this step 5 to 6 times (put the super glue on the tip of the nail and work it up to the size you want, then add a little wheat flour , remove the excess with the brush and do it again)
- Once done, you will remove the cardboard from under the nail you just created (very carefully, because you could break it).
- Once removed, you will cut off the excess on the “new nail” with scissors.
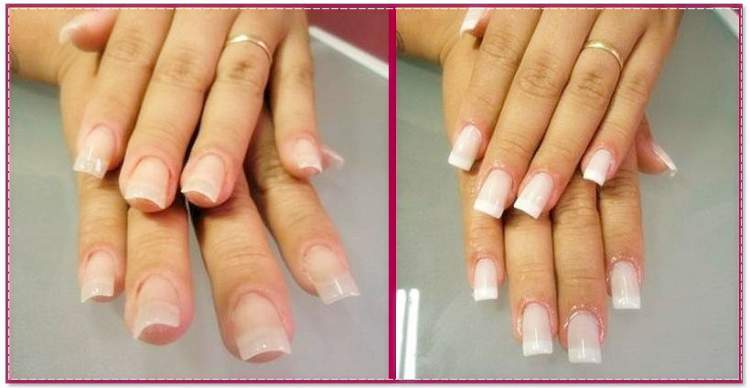
- Once this is done, it’s time to use the file and the polisher, sand it so that it is as you want, rounded, square, you must polish this “new nail” until it is smooth like your own nail.
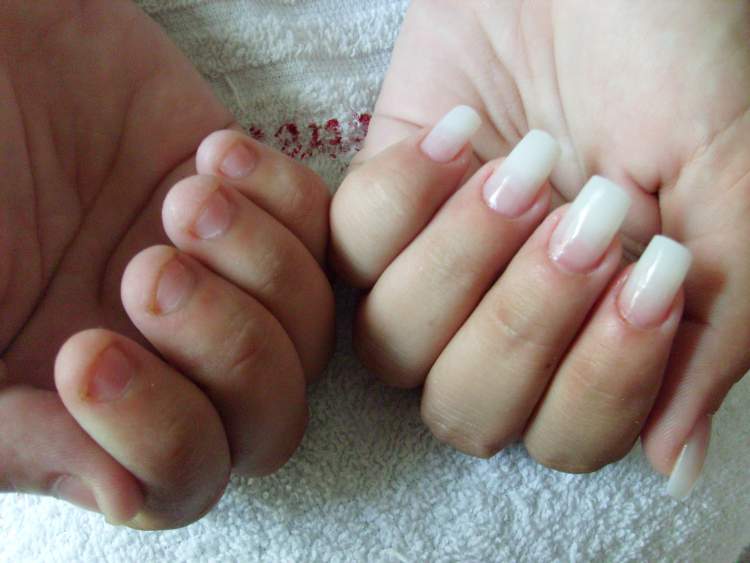
- After your “new nail” is ready, you will notice that it has the same texture and looks very similar to your own nail.
See Also: Homemade recipe to whiten your nails
If you prefer, watch the step by step in the video below:
See Also: Homemade recipes to treat weak and brittle nails

Sign up for our newsletter and stay up to date with exclusive news
that can transform your routine!
Warning: Undefined array key "title" in /home/storelat/public_html/wp-content/plugins/link-whisper-premium/templates/frontend/related-posts.php on line 12
Warning: Undefined array key "title_tag" in /home/storelat/public_html/wp-content/plugins/link-whisper-premium/templates/frontend/related-posts.php on line 13