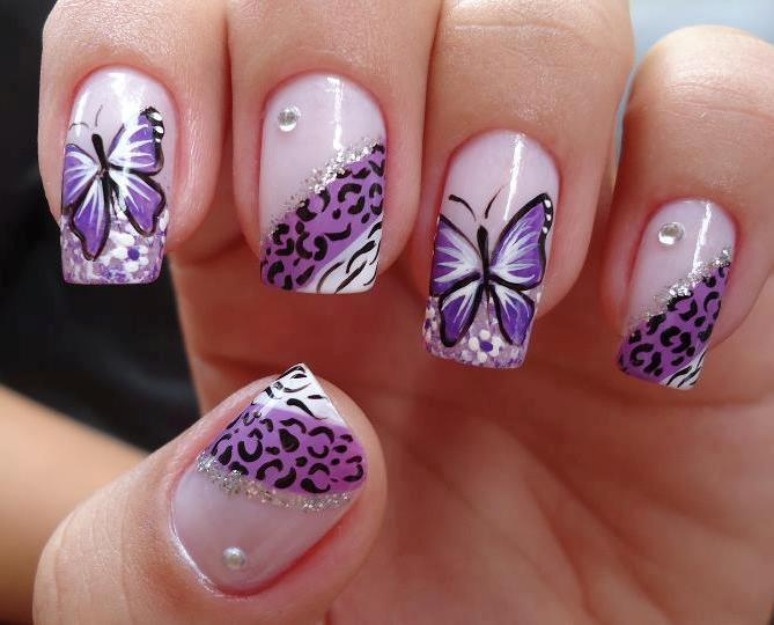
Os nail stickers are increasingly on the rise.
See too: Decorated Nails 2015: Trends
Seasons come and go and this is a trend that is constantly renewed.
See too: Decorated nails: 40 incredible photos to inspire you
Which woman doesn’t like to have her nails always beautiful and fashionable, right?
There are a multitude of options for nail stickers in the market. However, depending on the occasion, we want to have something very specific that we can’t find in stores.
Furthermore, many women do not have the same ability with both hands and, in these cases, the best thing to do is to use stickers instead of creating the drawings themselves, nails.
See too: Nail stickers: learn how to make them step by step
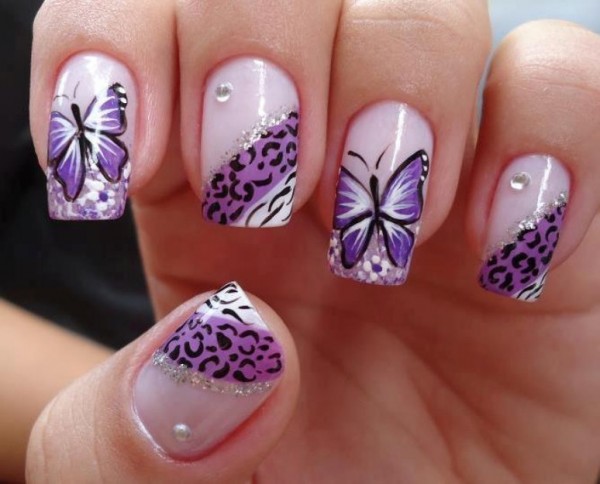
When this happens, you can create your own nail stickers!
Didn’t you imagine this was possible?
Today, we are going to show you two methods on how to do and apply nail stickers. Your nails will never be the same!
See too: Learn how to make nails decorated with newspaper
Make nail stickers yourself
Method 1: using paints and creating the designs manually
Necessary materials:
- 1 empty milk carton;
- Brush nº 0;
- Toothpick or baller (depends on the design you are going to make);
- Base enamel;
- Fabric paints in desired colors.
See too: Graphic nails: Learn how to do them step by step
Step-by-step (doing)
- The first step is to cut the milk carton. You will use the inner face of the box as a base for your stickers. It is on the inside of the box that you will make your drawings.
- After cutting, you will apply a thin layer of base enamel of your preferred brand in the area where you are going to make the drawing.
- Then, just let your imagination and creativity flourish. Use the brush, toothpick and/or baller and make the design you want. Always remember to respect the “limit” of the base you put on the milk carton. Your drawing must always be on top of the base.
See too: Learn how to do nails decorated with kittens
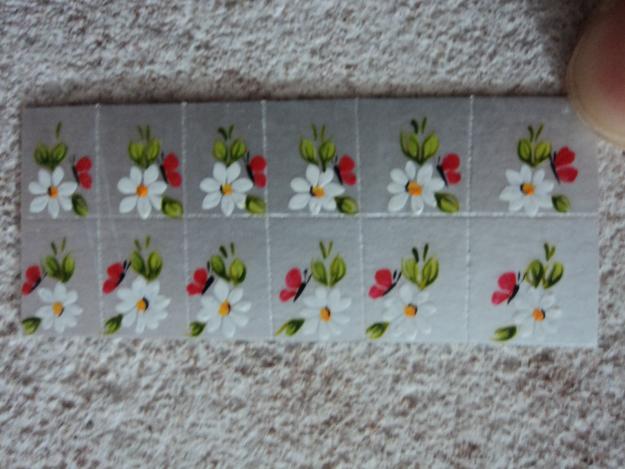
Step-by-step (applying)
Apply the sticker on nails It’s very easy too. With the tip of one or with the help of a toothpick, gently lift one of the edges where you passed the base enamel and, consequently, where the drawing is positioned.
Then, gently remove it as if it were a film and the sticker it will come out whole in your hand.
To apply, paint the nails with the desired color and then position the sticker on top. Finish with an extra-shine layer.
See too: Decorated Nails Course
Method 2: using the computer and printing the drawings
The cards of nail stickers are found in different places. Many lovers nails make these cards at home. After all, there’s not much of a secret.
Let’s learn?
See too: Flip-side: New trend in decorated nails
Necessary materials:
- Transparent L folder (found in most stationery stores);
- Base enamel;
- Milky thermoline;
- Craquelê varnish;
- Water;
- Computer;
- Printer.
See too: Nails decorated for evangelicals
Step-by-step (doing)
- Cut folder L in half and adjust so that the halves are the size of an A4 bond sheet.
- Using a brush, apply a thin layer of base enamel on one side of one of the sheets.
- Prepare a mixture containing 4 tablespoons of milky thermoline, 2 tablespoons of crackle varnish and 1 tablespoon of water. Mix well and let it rest for approximately 1 hour.
- After resting, make sure that the base you applied to your “leaf” has dried. Then, apply two layers of the mixture you prepared, always waiting for it to dry between one coat and the next.
- On the computer, prepare a sheet with the prints you prefer. They will be yours nail stickers and will soon be printed.
- When printing, make sure you place the sheet in the correct position. The print must be made on top of the layers you prepared.
- After printing, apply a thin layer of acrylic spray varnish. This will give more shine to your stickers and will also keep them longer.
See too: Best Decorated Nails: Photos and Tutorials
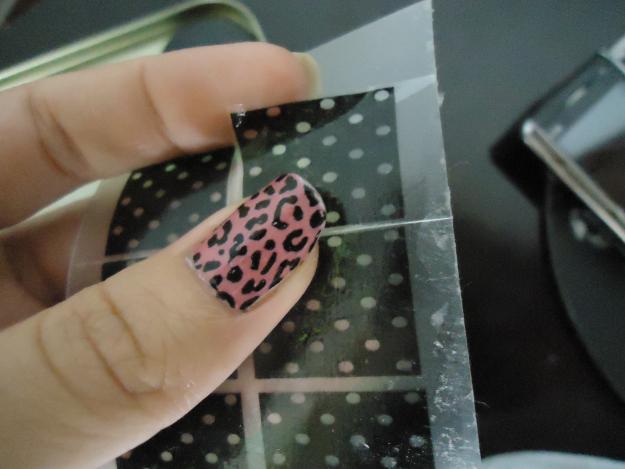
Step-by-step (applying)
The application of nail stickers made with the printer is similar to the application of stickers made manually on the inside face of the milk carton.
Cut out the sticker from the card you prepared. With the help of one or something pointy, lift the tip as if it were a sticker and pull it as if it were a film.
To apply to nailspaint your nails with the desired color and then position the sticker on top. Finish with an extra-shine layer, just like the other method.
See too: 5 easy-to-do nail designs

Sign up for our newsletter and stay up to date with exclusive news
that can transform your routine!
Warning: Undefined array key "title" in /home/storelat/public_html/wp-content/plugins/link-whisper-premium/templates/frontend/related-posts.php on line 12
Warning: Undefined array key "title_tag" in /home/storelat/public_html/wp-content/plugins/link-whisper-premium/templates/frontend/related-posts.php on line 13

