Hair reconstruction is a process that helps to replace the hair’s keratin, which is the protein responsible for maintaining the structure of the hair and which is eliminated every day due to sun exposure, straightening with a straightener or the use of chemicals on the hair. leaving hair more porous and brittle.
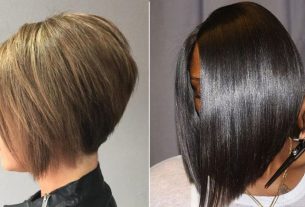
Therefore, carrying out hair reconstruction is important to maintain hair health, as well as leaving it with more shine, strength and resistance to external agents that damage the hair.
Generally, hair reconstruction should be done every 15 days, especially when many chemical processes are used on the hair. In cases where you don’t use many products on your hair, reconstruction can only be done once a month, as excess keratin can make the hair strands very rigid and brittle.

Benefits of hair reconstruction
Hair reconstruction has several benefits, the main ones being:
- Improve the integrity of the wires;
- Replenish hair keratin;
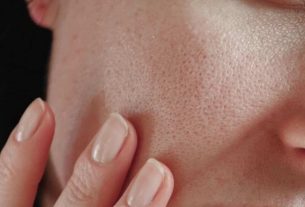
- Reduce the porosity of the hair;
- Make hair stronger and more capable of receiving other treatments, such as hair nutrition and hydration.
When the hair is damaged and the pores are open, the elasticity and structure of the strand are damaged, meaning that the nutrients that are part of these treatments do not penetrate deeply into the hair and guarantee the benefits.
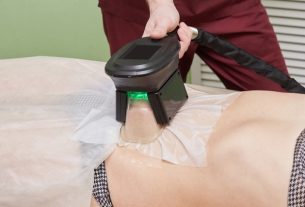
An excellent option for hair reconstruction and renewing strands is sealing, and is mainly recommended for hair damaged by chemicals, such as straightening and coloring. See how to perform hair sealing at home.
How to do hair reconstruction at home
To carry out hair reconstruction at home, it is important to follow the following steps:
- Wash the hair with a deep cleansing shampoo, to eliminate all residue and open the hair scales;
- Dry your hair with a soft towel to remove excess water;
- Divide your hair into several sections about 2 cm wide;
- Apply liquid keratin, on each strand of hair, starting at the nape of the neck and ending at the front of the hair. It is important to avoid applying it directly to the roots, leaving about 2 cm away from the scalp;
- Unite all the hairmassaging from root to tip and leaving the product to act for around 15 minutes;
- Apply an intense hydration mask, on each strand until the keratin is covered and then put on a plastic cap, leaving it to act for another 20 minutes. Discover 10 homemade hydration mask options;
- Wash your hair with warm or cold waterto remove excess product;
- Brush the hair with a soft brush or a wide-bristled comb;
- Apply a serumwith thermal protection;
- Dry your hair completely with the dryer.
Normally, this type of treatment leaves the hair looking rigid due to the use of liquid keratin and, therefore, to make it silky and more shiny, it is recommended to carry out a hydration treatment 2 days after hair reconstruction.
Furthermore, it is recommended to do a strand resistance test, applying a small amount to one end of the hair and waiting for 10 minutes, to see if the strands are completely broken and if the treatment is safe.
See also excellent tips for keeping your hair healthy:

Sign up for our newsletter and stay up to date with exclusive news
that can transform your routine!
Warning: Undefined array key "title" in /home/storelat/public_html/wp-content/plugins/link-whisper-premium/templates/frontend/related-posts.php on line 12
Warning: Undefined array key "title_tag" in /home/storelat/public_html/wp-content/plugins/link-whisper-premium/templates/frontend/related-posts.php on line 13