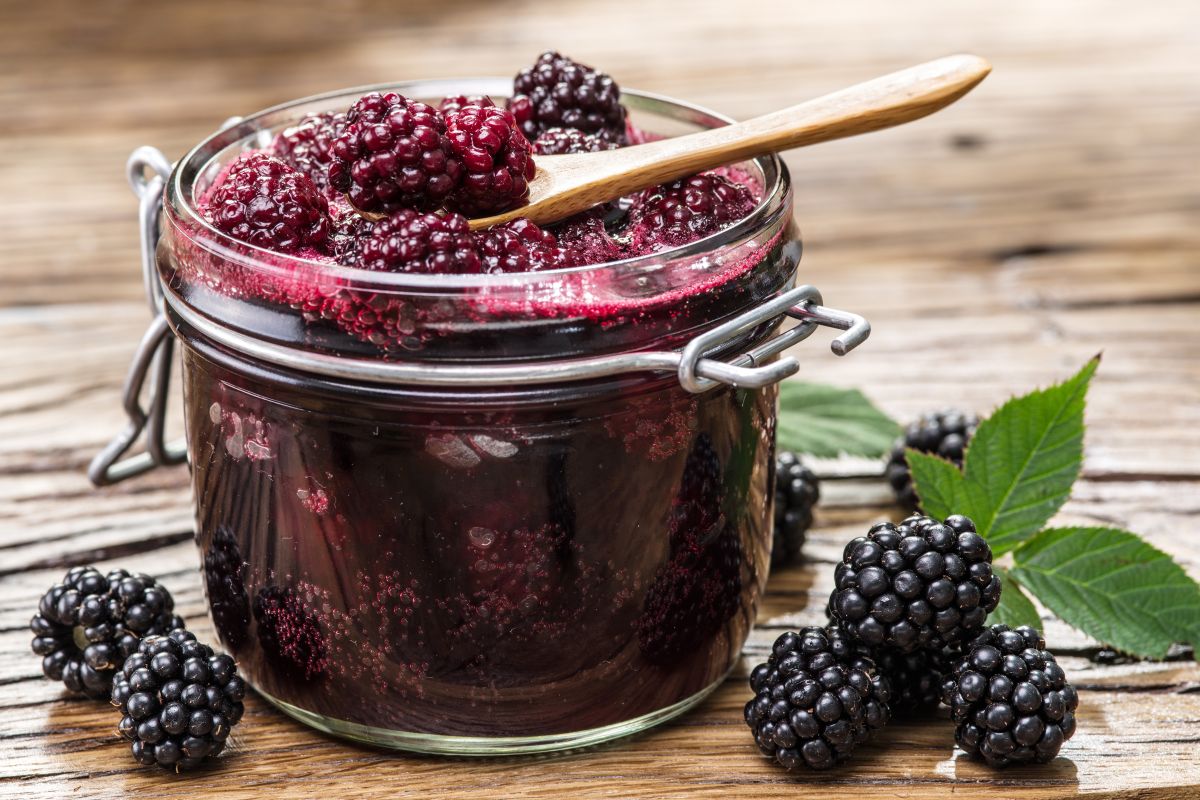
This blackberry jam recipe is very easy to prepare and can be served as a starter on cold cuts or on bread and toast.
This homemade blackberry jam recipe is very easy to prepare, in just 45 minutes you will have your jam that can be served either as a starter on cold cuts or to spread on bread and toast. Another tip is to use blackberry jam as a cheesecake topping, it’s delicious. Anyway, each recipe serves 4 people, so check out the step-by-step instructions for this incredible blackberry jelly recipe below.
Blackberry jam recipe
Ingredients
- 2 cups blackberries (fresh or frozen)
- 1½ cups of sugar (240 grams)
- 1 tablespoon lemon juice
Preparation mode
- Start by washing the blackberries, which can be fresh or frozen, in which case you don’t need to wait for them to thaw to prepare the blackberry jelly.
- Then, place the blackberries in a pan and add the sugar, place over medium-low heat.
- Stir until the sugar melts completely.
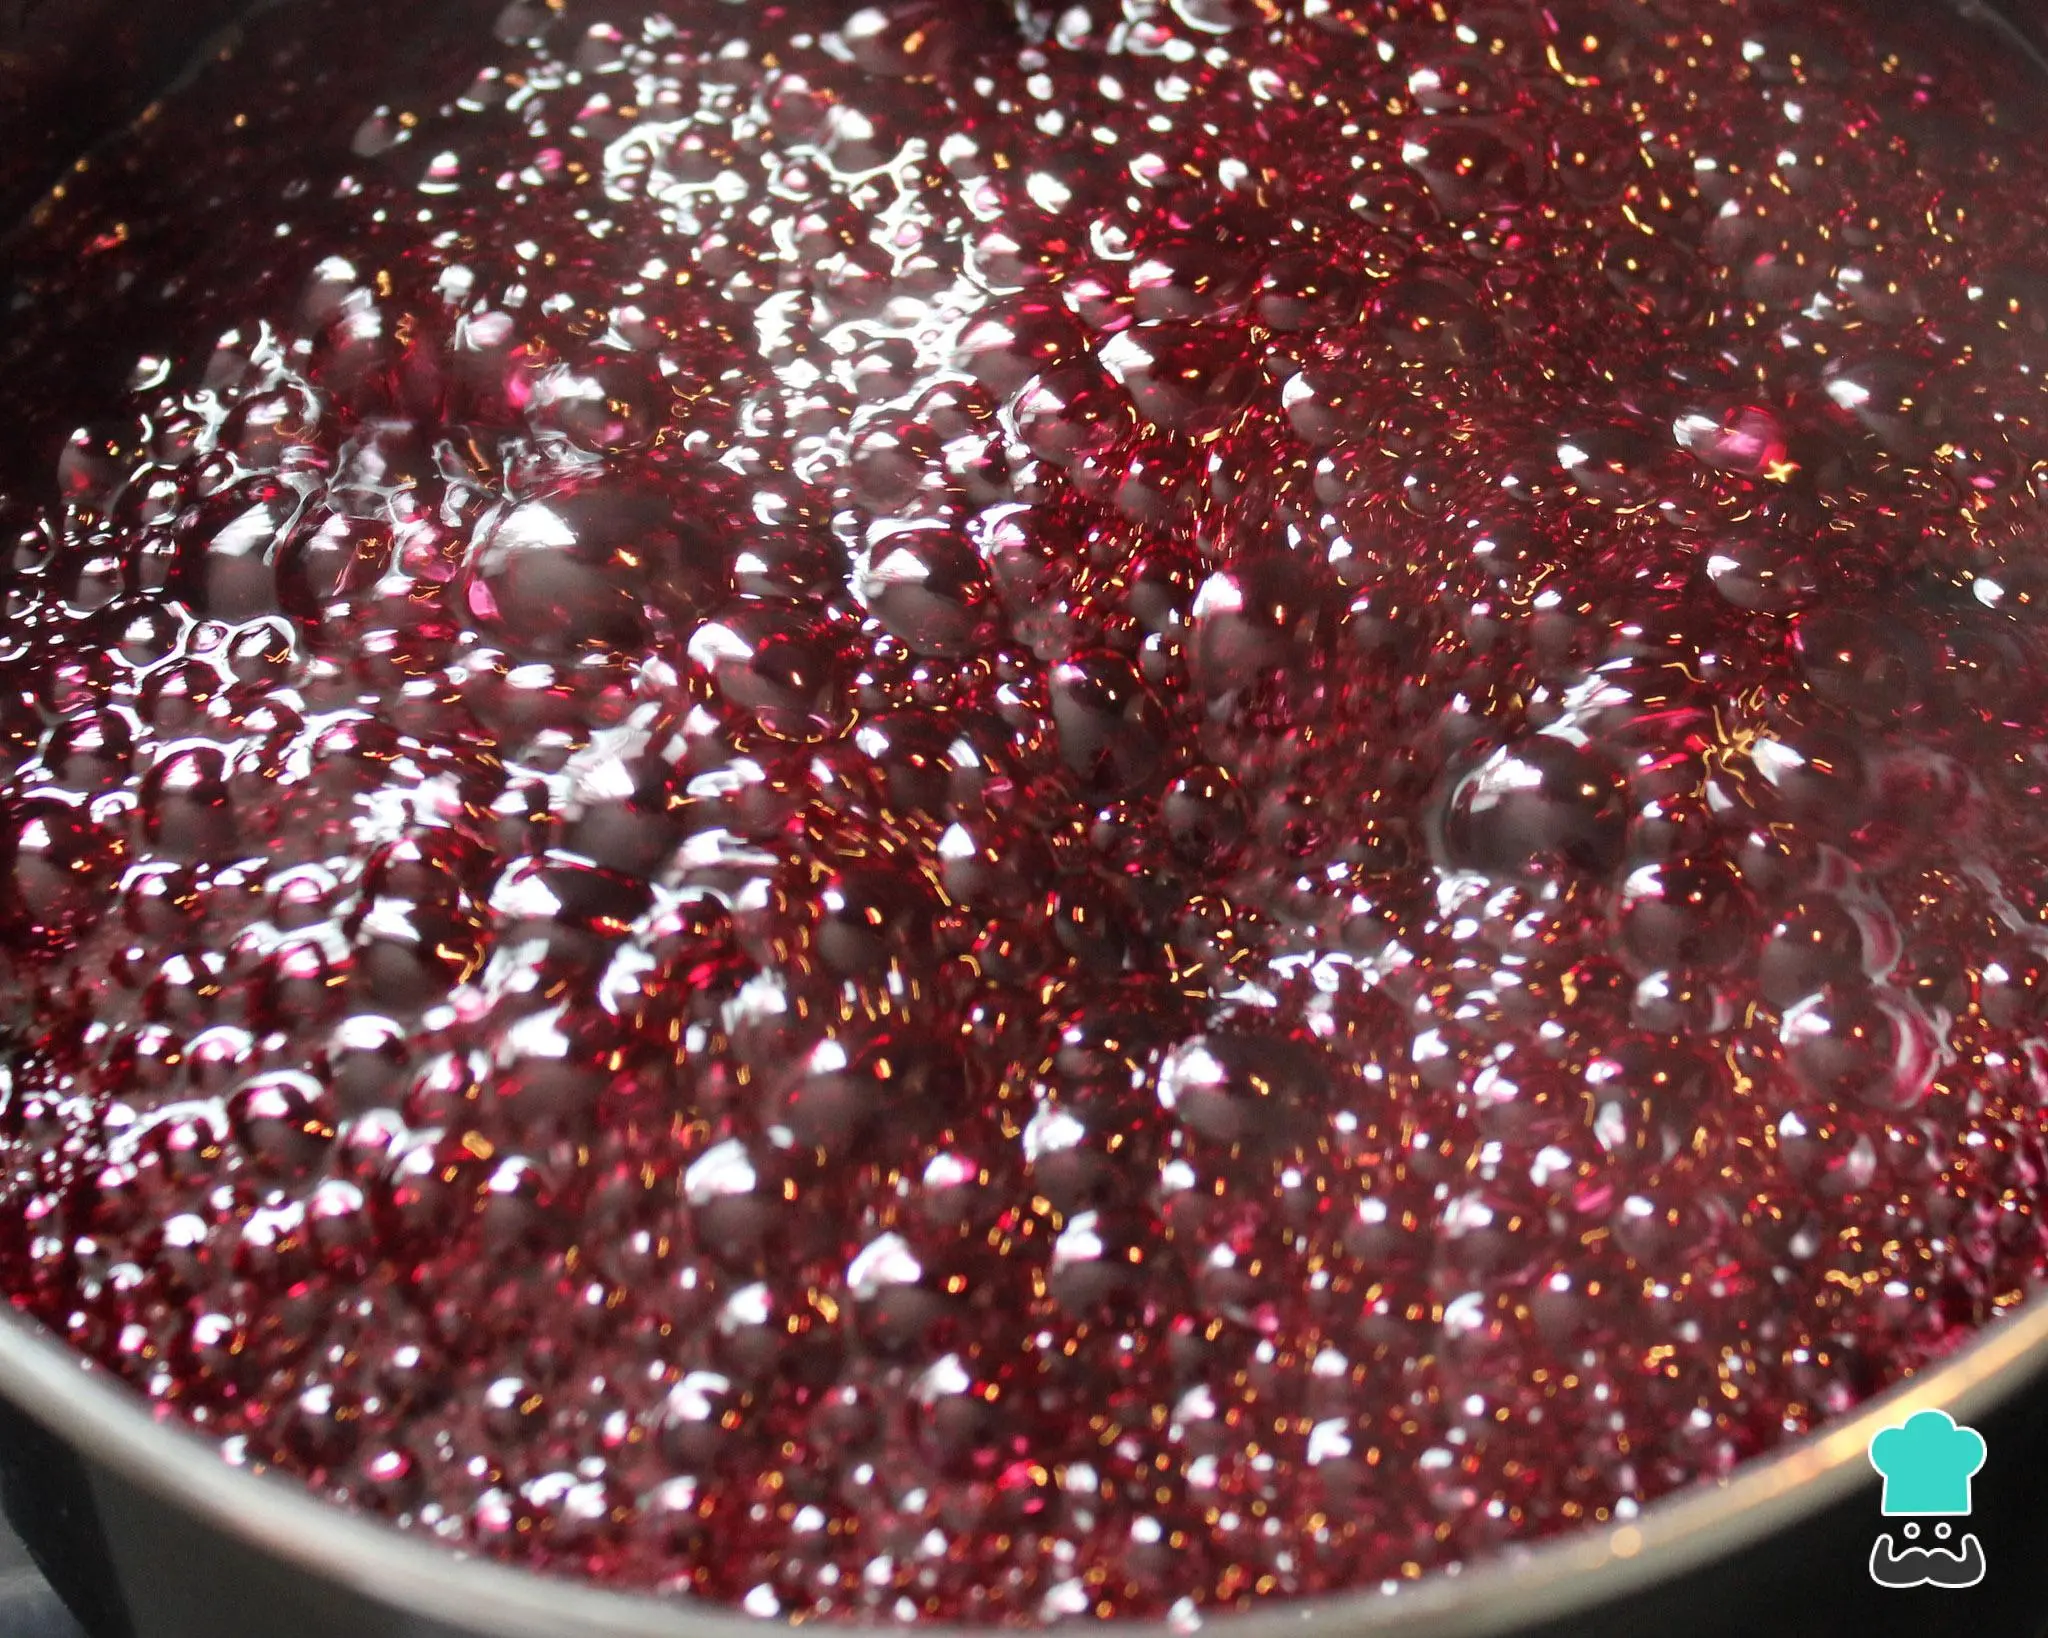
- Then, when the sugar melts and the blackberries start to break down, lower the heat.
- At this time, if you want, you can crush the blackberries with a spoon.
- Let it cook for another 15 to 20 minutes, then add the lemon juice.
- Now, stir only occasionally to prevent the blackberry jam from burning at the bottom of the pan.
- Finally, when it is at the right consistency, turn off the heat and place it in a glass pot while it is still hot and cover.
Tips
- To increase the shelf life of blackberry jam you need to use a sterilized jar and create a vacuum inside. To do this, fill the entire inside of the jar well with the jelly. Then, cover the jars and turn them upside down and leave them like that until they cool completely. This way, the shelf life will be 3 to 4 months without opening the jar.
- Store the pot in a place protected from light.
- If you prefer the blackberry jelly to be smooth, let it cool a little, puree it in a blender or processor and return it to the pan. And let it cook for another 10 or 15 minutes until it thickens again.
- Before preparing the recipe, remember to remove all the blackberry stems.
- If you use frozen blackberries they will release more water, which can make cooking take a little longer.
- Now, if using fresh blackberries, add 1 to 2 tablespoons of water to help the sugar melt faster.
- Finally, to eliminate the lumps, simply pass the blackberry jelly through a sieve after blending it in the blender.
How do you know when blackberry jam is at the right point?
Many people have doubts about the right point of blackberry jam, but there are some tips to know when it is at the right point:
- First, scrape the bottom of the pan with a spoon, if you can see the bottom of the pan clearly and the jam takes a while to come together, it means it’s at the right point.
- The other tip is to drip some of the jelly onto a plate, then tilt the plate, if the jelly doesn’t run it’s ready.
- You can also put some of the candy on a saucer and put it in the freezer, after 2 minutes, remove it and run your finger through the middle of the candy. If it wrinkles, it means it’s ready.
However, it is worth remembering that the jelly is a little liquid, it will only gel after two days.
How can you prevent blackberry jam from getting bitter?
Blackberries are a fruit with a slightly sour taste, especially when not picked completely ripe. Therefore, to prevent blackberry jam from becoming bitter, only use very ripe blackberries in the recipe. Which is when they are a very dark color.
Another tip is to add ½ teaspoon of baking soda when cooking the blackberries. But, do this before adding the lemon juice.
Anyway, what did you think of this quick and easy blackberry jam recipe? If you want to receive more tips like this, read also: Jelly, 5 easy recipes to use fruit at home.

Sign up for our newsletter and stay up to date with exclusive news
that can transform your routine!
Warning: Undefined array key "title" in /home/storelat/public_html/wp-content/plugins/link-whisper-premium/templates/frontend/related-posts.php on line 12
Warning: Undefined array key "title_tag" in /home/storelat/public_html/wp-content/plugins/link-whisper-premium/templates/frontend/related-posts.php on line 13