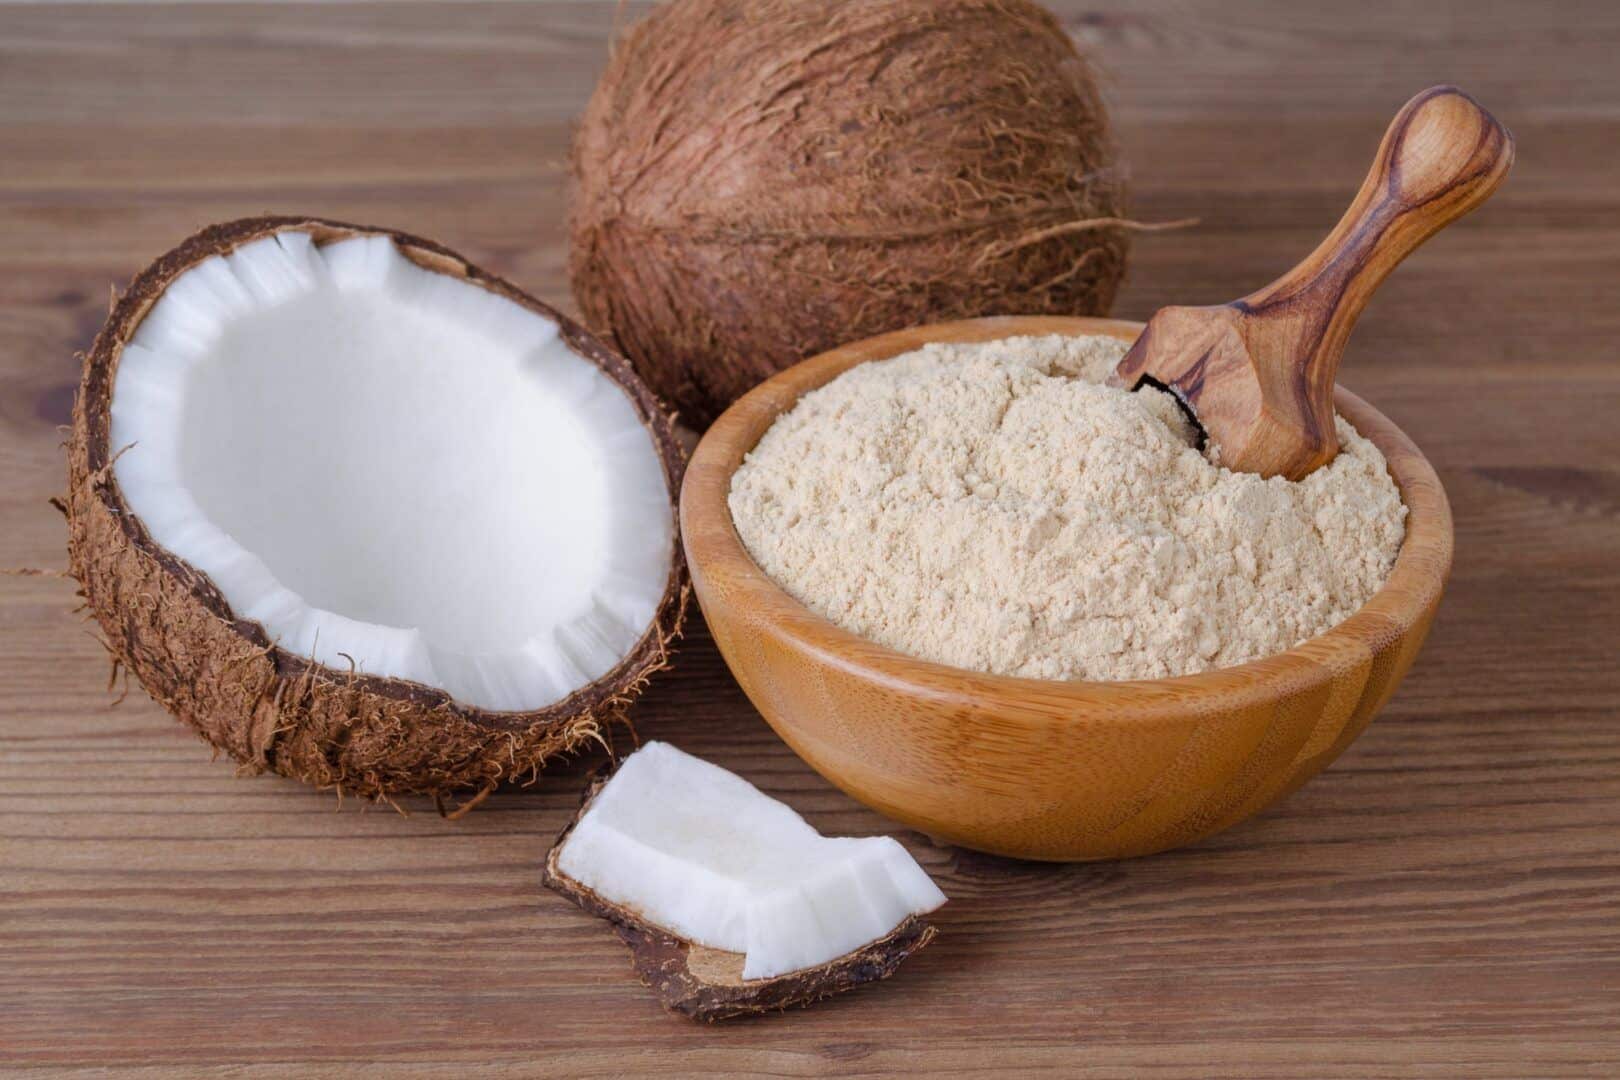
Learn how to make coconut flour in a simple way, without gluten, low in carbohydrates, good fats and excellent for keeping you full.
Want to know how to make coconut flour? So, we will teach you in a simpler way, step by step. Generally speaking, this flour is produced with dried coconut pulp, the same byproduct used in the production of coconut milk.
This way, people with gluten intolerance or celiac disease can safely consume coconut flour, as it does not contain gluten and is low in carbohydrates. Above all, this food is limited to Brazil and Portugal, so for those who live in other countries, this homemade recipe is a great option.
Therefore, we will explain how to make coconut flour at home, starting from the process of drying, grinding and extracting the milk from the fruit. Furthermore, it is rich in good fats, causes satiety and has important fiber for the body.
How to make coconut flour

Ingredients
- 1 dry coconut filled with water
- Edge knife
- Blender
- Cloth strainer
Preparation Mode
First of all, choose a dry coconut full of water, without leaks or signs of mold. Try shaking the fruit to feel the water shaking, this will prevent you from buying an old coconut. Below, we have prepared a very detailed step-by-step guide on how to make coconut flour.
1- Remove the coconut water
First, use a sharp knife to pierce the three bowling ball-like cavities. Find the easiest hole to remove the water, so you can also use a corkscrew to help get to the pulp more easily. When you can, turn the coconut hole over a glass or bowl and let it drain until the end. Then drink the coconut water with ice, this is part of the recipe, you won’t use it any other way.

2- Open or dry coconut
After drinking the cold coconut water, place what’s left of the coconut on the stove flame for approximately 10 minutes, always turning it with the help of a dough tong or a kitchen towel. Be careful not to burn yourself! Repeat this process until the coconut turns black and cracks. Another option is to leave it in the oven for about 20 minutes. Once this is done, place the coconut on a firm surface and hit the hammer or steak beater on top, holding it so it doesn’t fly across the kitchen.

3- Remove the pulp – how to make coconut flour
In the meantime, use a spoon to detach the pulp from the skin, applying pressure to make it release more easily. Then cut into coarse pieces and set aside.

4- Extract the coconut milk
At this point in the recipe, you need to extract the coconut milk to make the flour. Therefore, cut the coconut into small pieces. Afterwards, place the coconut pieces in the pan with water, a little more than the level of the pulp, about 4 cups of water. When it boils, turn off the heat and wait for it to become warm. Then, blend everything in the blender for about 3 minutes, until the pieces are very fine and the homemade milk is very homogeneous.

Lastly, strain the milk through the tissue very finely, squeeze well to extract all the liquid from the coconut. Afterwards, store in the refrigerator for 3 to 5 days or freeze in ice cube trays or containers to consume when needed. Furthermore, it is normal for the milk to separate later, between the fat on top and the water below, but just mix it. Finally, what remains is the crumbled coconut, this is what will become coconut flour.
5- Cook the coconut flour
Take all the coconut bran extracted after straining the milk, add it to the pan over medium-low heat, always stirring with the spatula. Start with medium heat until the flour cooks, then keep it on low heat so it doesn’t burn. To make it dry and golden, stir for 15 minutes.

Make sure it doesn’t get too dark, as it could be bitter. Take a little flour with your hand to feel if it is dry. If so, wait for it to cool and place it in a closed jar, so it can be kept in the fridge for about 1 month.
Finally, don’t delay in consuming coconut flour, as if you notice a sour odor over time, it means it has gone bad. Furthermore, this recipe is a little labor intensive, but it is worth it in the end.
What did you think of this matter? So, take the opportunity to check this one out too: Coconut soap – Benefits, uses, how to use it and how to make it at home
Sources: Technical Cuisine and Love for Food
Images: Tudo Gostoso, Terra Viva, Club delle Ricette, Receiteria, Cozinha Legal, Temperando and Armazém Central

Sign up for our newsletter and stay up to date with exclusive news
that can transform your routine!
Warning: Undefined array key "title" in /home/storelat/public_html/wp-content/plugins/link-whisper-premium/templates/frontend/related-posts.php on line 12
Warning: Undefined array key "title_tag" in /home/storelat/public_html/wp-content/plugins/link-whisper-premium/templates/frontend/related-posts.php on line 13