Sealing is a method of reconstructing strands. Its effect is to restructure the hair, reduce frizz and volume, in addition to hydrating it.
We already know that hydration is extremely important for hair, but remember that it does not replace good hair sealing. Therefore, if your hair needs reconstruction, it will need sealing. The best part is that it can be done at home, just find out about the products that will be used to achieve the effect you want.
Primarily, sealing is a method of reconstructing hair. Its effect is to restructure the hair, reduce frizz and volume, in addition to hydrating it and ensuring more softness. The process consists of pre-washing the hair with anti-residue shampoo, then applying a series of products and, finally, sealing the cuticles using heat.
Beforehand, it is important to highlight that sealing is different from progressive, as its effect is to rebuild and seal the strands, without altering their structure and, therefore, does not straighten the hair. So, the feeling of straightening that people notice when sealing is actually due to the reduction in the volume of the hair.
By the way, sealing is a procedure mainly recommended for damaged hair. For example, hair that has suffered damage due to chemical straightening or excessive heat use. These are cases that need an extra supply of nutrients, vitamins and, above all, reconstruction. That’s why sealing is recommended, as it not only rebuilds the hair but also hydrates it, through the use of heat-activated keratin.
What is hair sealing and what is it for?
As mentioned previously, sealing is a deeper hair reconstruction treatment, with a sealing and moisturizing action. In addition, it also protects the hair against damage from external agents such as the sun, pollution, the sea, among others. In this way, hair treated with sealing becomes more resistant, shiny, soft, with less volume, split ends and frizz.
Sealing is primarily recommended for hair that has been damaged in some way, but it is beneficial for all hair types. The procedure is simple and can be carried out in the salon or at home, as long as you have the right products at your disposal.
How should the procedure be done?
In short, simply wash your hair with anti-residue shampoo beforehand and apply the products to the strands. Finally, the hairdryer and straightener are used to seal the hair cuticles and enhance the effect of the treatment. However, the choice of products to be used for sealing deserves your attention.
Basically, reconstruction products are used, such as keratin, vitamins and hydration masks. However, there is a wide variety of products that can be used for sealing. Many of these may even contain components capable of altering the natural structure of the hair, which will make the procedure straighten the hair instead of just rebuilding and treating it.
Therefore, do good research on the products you will use, the quantity that should be used, their ingredients and the effect they generate. If possible, even ask a hairdresser for advice and decide on the result you expect from the sealing, in order to choose the right products.
These are precautions to be taken to ensure that the sealing effect is as expected, long-lasting, effective and beneficial to the hair. If you want it to have a smoothing action, just include products that have this effect. However, be very careful and careful not to use products with formaldehyde or other chemicals of this nature. Pay attention to products that are released by Anvisa and classified as grade 2.
How to seal at home
Thinking about the countless benefits of sealing your hair, we have prepared guidelines so that you can carry out this procedure without having to go to the salon. To seal at home you will use:
- 3 tablespoons of hair reconstruction mask;
- From 5 ml to 15 ml of liquid keratin, depending on hair size;
- Thermal protector;
- Hair cuticle sealer or conditioner;
- You can also add serum ampoules or vitamin ampoules.
Step by step procedure
- Pre-wash your hair with anti-residue shampoo;
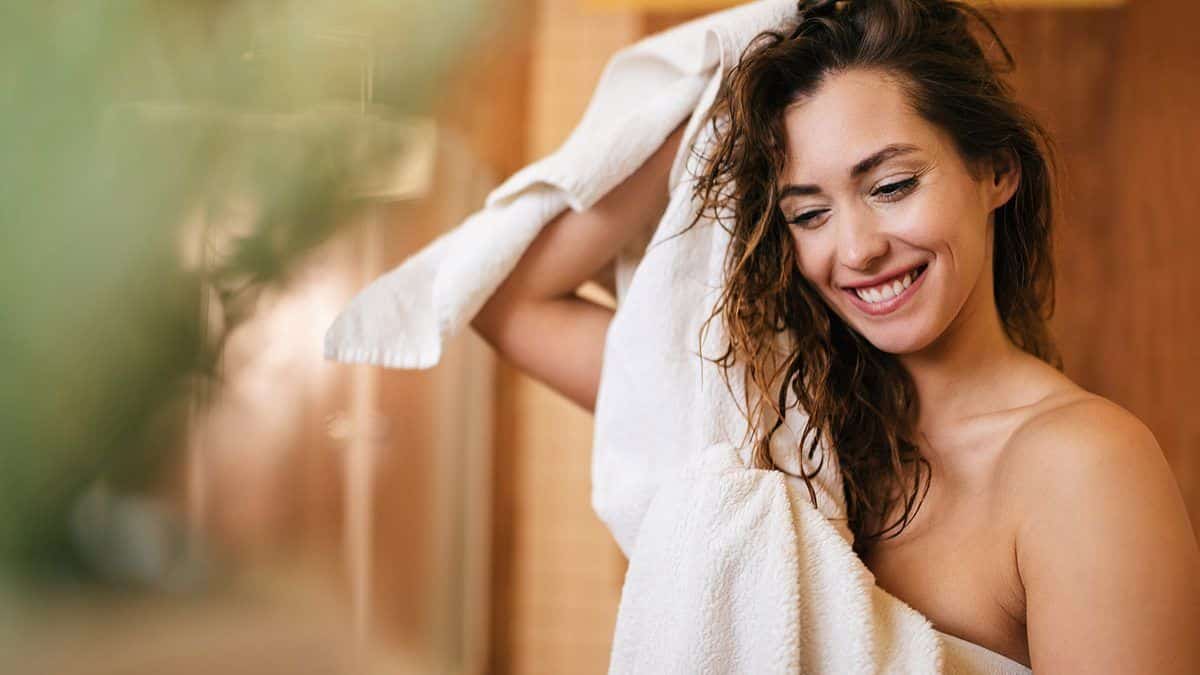
- With a towel, dry your hair to remove some of the water and finish with a hairdryer on a not too hot temperature, remember not to dry your hair completely;
- Combine all the products to be used, with the exception of the thermal protector, in a container and mix well;
- Then, apply the mixture to your hair, strand by strand;
- Soon after, it is time to apply the thermal protector to all the hair and dry well with a hairdryer;
- Then, it’s time to use a straightener, go through each strand about 5 times;
- Once your hair has cooled, rinse well with cold water, removing all product residue;
- Apply the thermal protector again, dry with a hairdryer and use a straightener to finish;
- If you wish, there is no need to finish with a hairdryer and straightener, just let it dry naturally.
The guideline for this procedure is that it be done every 2 weeks and, if possible, together with good hydration. There are also some tricks to make the sealing effect last longer and to help your hair recover healthily, such as:
- Reduce the frequency of hair washing;
- Avoid using deep cleaning or anti-residue shampoos frequently;
- Avoid dyeing or straightening your hair with chemicals.
Did you enjoy learning about sealing and how to do it at home? So you’ll also want to check out the hair schedule.
Source: Your Health, Hair.

Sign up for our newsletter and stay up to date with exclusive news
that can transform your routine!
Warning: Undefined array key "title" in /home/storelat/public_html/wp-content/plugins/link-whisper-premium/templates/frontend/related-posts.php on line 12
Warning: Undefined array key "title_tag" in /home/storelat/public_html/wp-content/plugins/link-whisper-premium/templates/frontend/related-posts.php on line 13