You’ve probably already seen that changing basic pieces is not that difficult, the same rules are almost always used when dyeing or customizing a piece.
Choose a quieter day to carry out the process, such as a Sunday or any day off. It will take a lot of willingness. And prefer new pieces, those cheap and basic ones, recently purchased, or a stored piece accumulates dirt from use after use, not seen with the naked eye, you only notice the dirt after dyeing, that is, at the end of the entire process. .
Discover how to dye and customize clothes
You can choose any color you would like that contrasts with the color of the piece used.
There are so many possibilities when purchasing powder, that honestly, I feel lost!
Material:
– White non-fabric glue, common for home or school use.
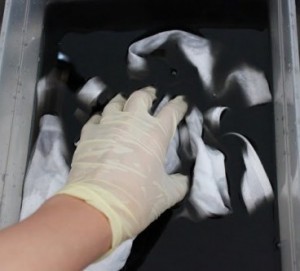
– Powder for dyeing cold-dyed cotton fabric, in the color you think is ideal for dyeing the entire piece, minus the design made with the glue.
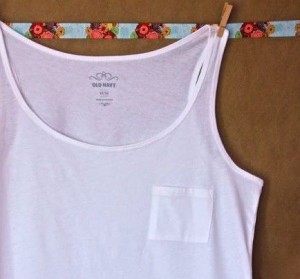
– Cotton t-shirt.
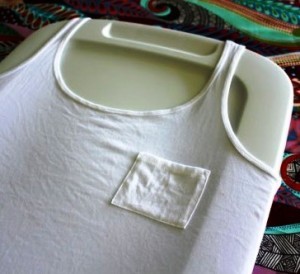
Wet the t-shirt with cold water, place a plastic plate in the middle of the piece, leaving the front separate from the back of the piece.
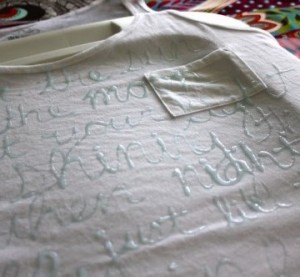
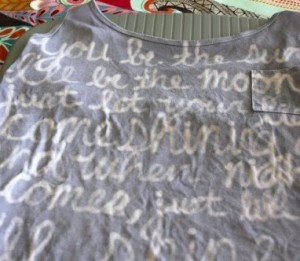
Write a quote, a poem, or draw a drawing with the glue and let it dry completely, this could take a few hours.
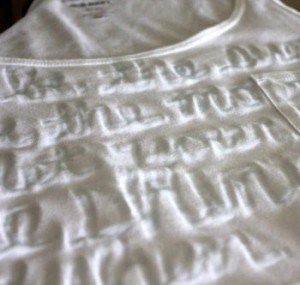
Once the piece is dry, we will dye the t-shirt, prefer cold dyeing powder. Remember, the final color of the piece will be a few shades darker once it dries.
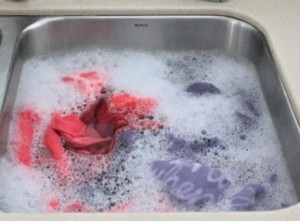
Let it dry in the shade, when the t-shirt is dry, leave it in cold water and soap for about 15 minutes. This sauce will remove the remaining glue. Then just put it in the machine and wash as usual.

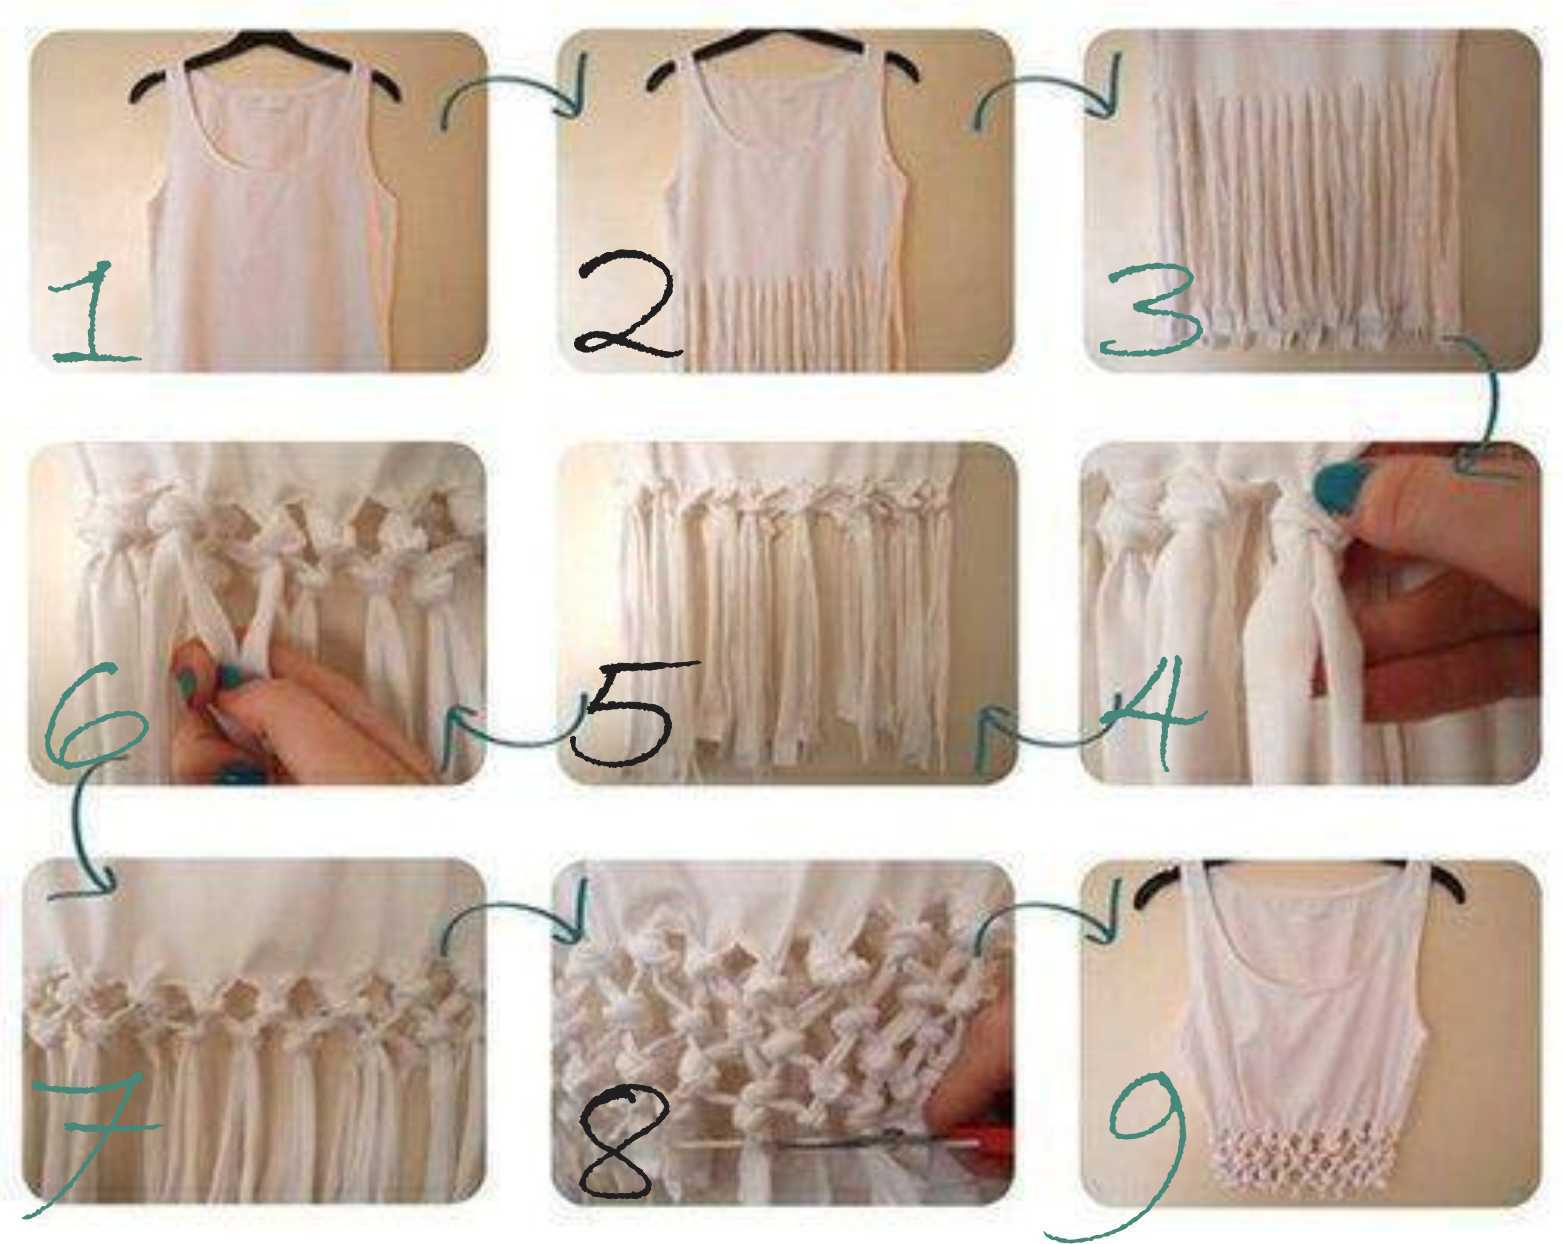
Another tip is to cut out the same model of tank top used in the previous process, but in a different fabric, see how easy it is:

Basic Personal Hygiene
1 The choice of tank top greatly influences the process, prefer wider and lighter ones in viscose, or modal.
2 Cut the hem about 30 cm upwards. If the model is shorter, place it on the body and make the ideal mark.
3 Observe the ideal length so as not to be too short, the strips should be 1 cm each
4 Make knots every two strips, don’t tighten too much, there’s no need.
5 Once the first row is done, if there is any left on the side, cut it out without any problems.
6 Now join two strips again, but one from each finished knot as you can see in the photo.
7 Aren’t you looking beautiful? Remember not to tighten the knots too much.
8 Make all the strips by interspersing the knots, finishing by cutting off the excess fabric.
9 Ready, rock!