Keeping your natural nails long is not easy, as they can break easily.
But nothing stops women from having long and always beautiful nails, even more so now with gel nails.
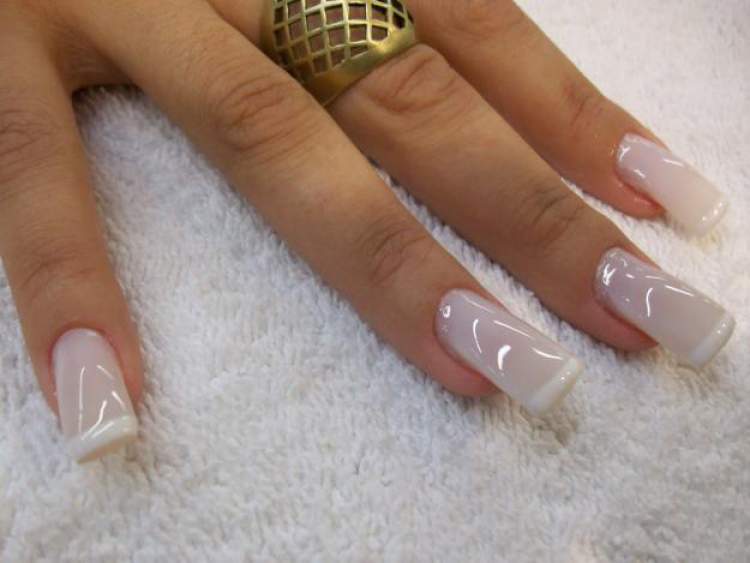
This nail lengthening technique is here to stay, as it leaves your nails long and with a natural result.
The gel nail technique is available in many beauty salons, but some women are curious about how they are done and want to try the procedure at home.
Therefore, if you are curious to know how this type of stretching is done, see below how to do gel nails step by step.
See Also: Decorated nails step by step

See how to do gel nails step by step
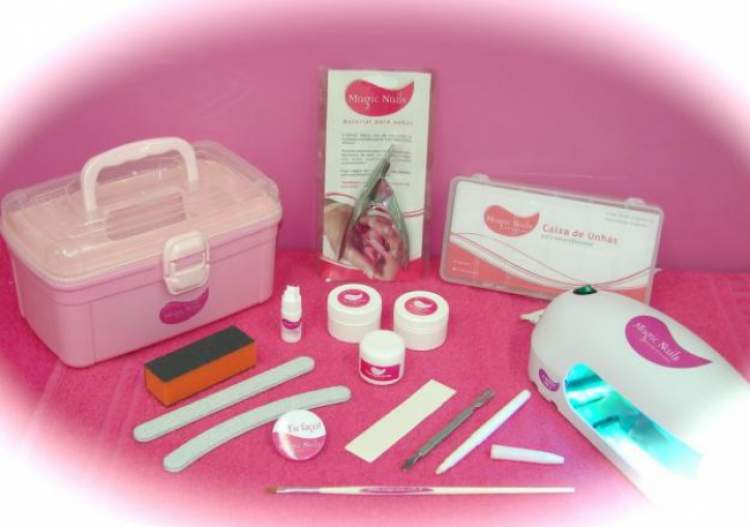
First of all, to start the gel nail application procedure you need to have a kit that consists of the following materials:
- tips, primer
- cleanser
- gel foundation
- building gel
- finishing gel
- cola
- lixa
- brush
Additionally, you will need a UV light device to dry your nails.
See Also: Gel nails: pros and cons
- Step 1: Before starting the procedure, you must have your nails done (cuticles) and treat them with preparation oil. It is also essential to file your nails and leave them the same size.
- Step 2: After that, you will define the size you want your gel nails to be, and then choose the lengthening tips called “tips” according to your preference.
- Step 3: Start by applying the glue to the tips and apply them to the nails, always starting from the bottom up to avoid the formation of bubbles. After that, sand the ends of the extension until you get the desired shape.
- Step 4: Remove all sanding dust, leaving the tips very clean and apply the primer.
- Step 5: Apply a layer of base gel to all your nails using the brush in the kit. Then, place your nails to dry for just 2 minutes in the UV light device.
See: 3 Myths About Gel Nails That People Still Believe
- Step 6: Apply the construction gel to all your nails, and place them to dry again in the UV light device, only this time for 3 minutes.
- Step 7: Apply the cleanser to all your nails carefully and give the gel the desired shape with the help of a file.
- Step 8: Apply a thin layer of finishing gel to your nails just to make your nails shine, and let it dry for another 2 minutes in the UV device.
- Step 9: Finish the procedure by applying an oil to keep your nails hydrated and healthy.
More: Find out everything about gel nails
See in this video how gel nails are done
Did you find it easy? When in doubt about what to do, always seek help from a professional.
And remember that depending on the procedure, sometimes it’s worth spending a little more than doing it wrong. So, think carefully about whether or not it’s worth doing your gel nails at home, as the results don’t always turn out the way you want them to.
See Also: 5 infallible tips for strong nails

Sign up for our newsletter and stay up to date with exclusive news
that can transform your routine!
Warning: Undefined array key "title" in /home/storelat/public_html/wp-content/plugins/link-whisper-premium/templates/frontend/related-posts.php on line 12
Warning: Undefined array key "title_tag" in /home/storelat/public_html/wp-content/plugins/link-whisper-premium/templates/frontend/related-posts.php on line 13