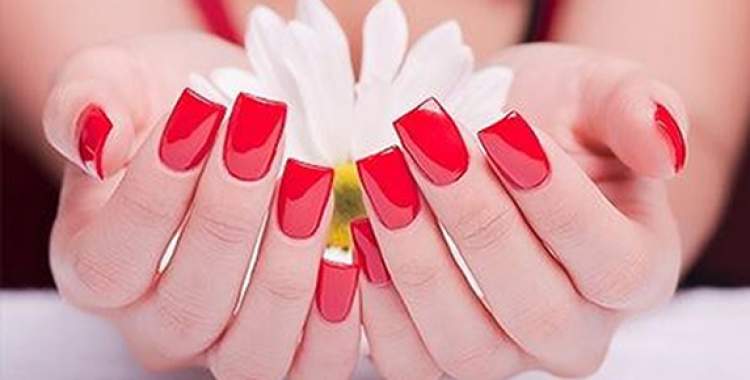
Fiberglass nails, or just fiber nails, are the latest addition to nail extensions.
As fiberglass nails They differ from practically all lengthening techniques, because they leave your nails looking very natural compared to others.
This technique is done with fiber strands that are placed on the nail with the help of gel. The same gel known for creating the “gel nails” technique.
With this technique, the specialist can model the fibers according to the client’s nails, giving them a very natural appearance.
Tutorial: Decorated nails step by step
Pros and cons of getting fiberglass nails done

Benefits:
- The appearance is very natural compared to other techniques
- Nails last longer
- Nail polish lasts longer on fiberglass nails
- With proper maintenance they can last up to 1 month
See: How to do gel nails step by step
Disadvantages:
- The main disadvantage is the installation time, it can take around 3 hours to place them.
- The first maintenance should be carried out in approximately 10 days, but from the second maintenance onwards, it can be carried out in 20 to 30 days.
The cool thing is that your nails can grow, which will not make any difference between the fiberglass nail and your natural nail. The fiber nail is very different from the others even in this regard.
As I said at the beginning, the nails look super natural!
See Also: 4 Homemade Recipes to Strengthen Your Nails
Step by step on how to apply fiberglass nails:
You will need:
- Nail sterilizer, better known as PREP
- “Banana” sandpaper (it’s shaped like a banana, kind of curved)
- Primer pen
- The special gel for this type of technique
- The box with fibers
- 1 brush
- Polishing sandpaper
- The sealant
How to make
- The first step is to sterilize your nails with PREP, you should give it a “spray” and wait for it to dry.
- Once dry, create light scratches on the nails with the “banana” file.
- Then you should apply the primer over your nails, without touching it to your cuticles.
- Then this nail is placed in a cabin (this cabin has the function of drying the nails) until it returns to its normal appearance.
- While this nail dries in the cabin, the fiber must be prepared.
- Prepare the fiber by giving it a slight curvature, as it comes very straight, and for the nails to look super natural, this curve is necessary.
- Then you separate this fiber in half.
- The nail is already dry, so apply the first layer of gel very thinly with the help of a brush, always doing your best not to touch the cuticle. Remember that if you apply too much gel the fiber becomes slippery and there is no way to get a good grip on the fiber.
- Immediately afterwards, the fiber is applied and, using a thin toothpick, this fiber must be distributed on the nails with light movements up and down, always with the aim of opening it.
- Place this nail in the drying cabinet for about 30 seconds until the fiber is well glued to the nails.
- Apply another layer of gel to the ends, spreading it well along the fiber until they become transparent.
- Place the nail in the drying cabinet for another 30 seconds.
- Now the size of this nail is defined by cutting it.
- Apply a thicker layer of gel, always avoiding touching the roots of the nails.
- Always clean the corners, removing excess gel.
- Then place the nail in the drying cabinet for another 1 minute.
- This process is repeated at least 2 more times (apply the gel, clean the corners, then 1 minute in the drying cabinet).
- I soak a cotton pad with the sterilant (PREP) and remove excess gel from my nails.
- With the “banana” file, the nail is sanded to a good size, and sand also polishes on top.
- With the “block” file, continue polishing this nail so that it has a shiny appearance.
- The last step is to apply the sealant, it is this sealant that will leave the nail protected and shiny.
See Also: False nails: learn how to apply and care
Discover: 3 Myths About Gel Nails That People Still Believe
If you had difficulty doing the step-by-step instructions above, watch the video below and follow in full how to do fiberglass nails.

Sign up for our newsletter and stay up to date with exclusive news
that can transform your routine!
Warning: Undefined array key "title" in /home/storelat/public_html/wp-content/plugins/link-whisper-premium/templates/frontend/related-posts.php on line 12
Warning: Undefined array key "title_tag" in /home/storelat/public_html/wp-content/plugins/link-whisper-premium/templates/frontend/related-posts.php on line 13


![11 dicas para o cabelo crescer [guia do crescimento do cabelo]](https://storelatina.com/wp-content/uploads/2024/05/11-dicas-para-o-cabelo-crescer-guia-do-crescimento-do-305x207.jpg)