To clean your skin at home, you should use products that help open pores and remove impurities from your face, leaving you healthier. It is recommended that skin cleansing be done once every 2 months or once a month, in the case of oily skin.
Furthermore, it is important to take some precautions, such as avoiding sun exposure 48 hours before and after treatment, to prevent the skin from becoming stained, always using a facial sunscreen and drinking plenty of water to ensure good skin hydration.
It is important to use products recommended by the dermatologist according to your skin type, thus ensuring effective skin cleansing, without any flaking or redness. In addition, a dermatologist or beautician can also perform deep skin cleaning, but in a professional manner, which can have better results. See how deep skin cleansing is done.

Step by step homemade skin cleansing
The steps that must be taken for homemade skin cleansing are:
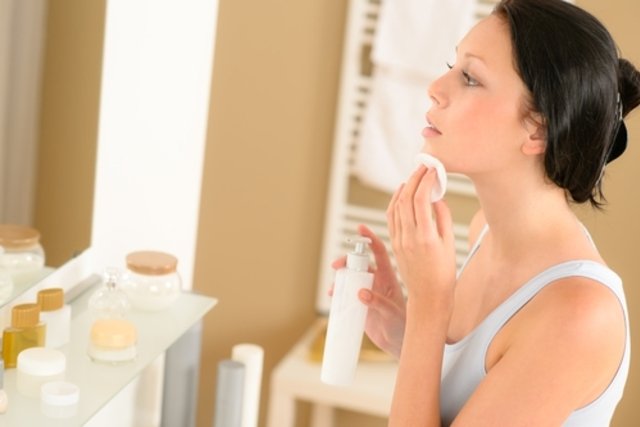
1. Clean superficially
Superficial skin cleansing removes impurities and must be done by applying a makeup remover lotion to the entire face, gently massaging the skin, to remove makeup and superficial impurities from the skin.
Then, wash your face with warm water and neutral soap, and dry with a clean, soft towel.
2. Vaporize
Steaming is a simple, easy and important technique for homemade skin cleansing, as it softens the skin and opens the pores, making it easier to remove blackheads and impurities when using an exfoliant and improving the absorption of moisturizing lotions in the following steps.
To steam, you must add boiling water to a basin and then cover your head with an open towel, so that it also covers the basin containing the hot water and bring your face closer to the water vapor. 5 to 10 minutes, being careful not to get too close to the water to avoid burning your face.
Another option is to use a vaporizer device or the steam from warm water while taking a shower.
3. Exfoliate
Exfoliating the skin allows you to remove dead cells, remove blackheads and clean pores, in addition to preparing the skin to better absorb moisturizers in the next steps. The exfoliant used can be purchased or prepared at home with natural ingredients. Learn how to prepare a homemade exfoliant.
To exfoliate the skin, place a little bit of the exfoliant on a cotton ball and gently massage the skin all over the face, making circular movements for 3 minutes. It is important to focus on the areas that accumulate the most dirt, such as the forehead, between the eyebrows and sides of the nose, and avoid applying it to the area around the eyes. Leave the exfoliant on your face for another 3 minutes, without rubbing, and wash with warm water.
4. Apply soothing mask
Applying a soothing mask helps to cleanse the skin, calming and preventing redness, as well as promoting deep hydration, leaving the skin softer and smoother. The calming mask can be made with specialized or homemade products, such as a mixture of honey and yogurt, for example. See how to make the honey and yogurt facial mask.
To apply the calming mask, you must spread the mask over the entire face, except for the eyelids and areas around the eyes. Leave the mask to act for about 20 to 30 minutes or until the mask dries completely. Then wash your face with cold water and dry with a clean, soft towel.
5. Tone
Skin toning is another important step in homemade skin cleansing, as it helps to refresh and keep the skin’s pH balanced, as well as closing pores and helping to keep the skin hydrated.
To tone the skin, you can use a toning product according to your skin type. Put some of the toner on a cotton ball and apply it to your face gently, letting it dry naturally; there is no need to rinse your face afterwards.
6. Hydrate
The last step of homemade skin cleansing consists of applying a thin layer of moisturizing cream or serum according to your skin type, preferably with sunscreen, or using a day or night anti-aging cream, for example, to soothe, protect skin and keep your face hydrated.
The moisturizer should be applied to the face, and can also be applied to the neck, gently massaging the skin in circular movements.

Bibliography
- DRAELOS, ZD The science behind skin care: Cleansers. J Cosmet Dermatol. 17. 1; 8-14, 2018
- BLAAK, J.; STAIB, P . The Relation of pH and Skin Cleansing. Curr Probl Dermatol. 54. 132-142, 2018

Sign up for our newsletter and stay up to date with exclusive news
that can transform your routine!
Warning: Undefined array key "title" in /home/storelat/public_html/wp-content/plugins/link-whisper-premium/templates/frontend/related-posts.php on line 12
Warning: Undefined array key "title_tag" in /home/storelat/public_html/wp-content/plugins/link-whisper-premium/templates/frontend/related-posts.php on line 13