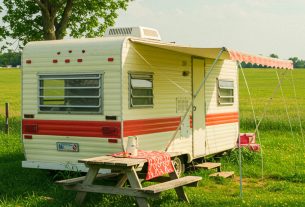
As a proud mobile homeowner, I’ve often found that the exterior of my home can tell a story. With a few strokes of paint, I can transform a dull façade into a vibrant reflection of my personality. But how do I ensure that my DIY painting project is not only beautiful but also long-lasting? In this article, I will share my journey and insights on the best ways to paint a mobile home, backed by expert tips and real-life experiences.
Understanding Your Mobile Home’s Structure
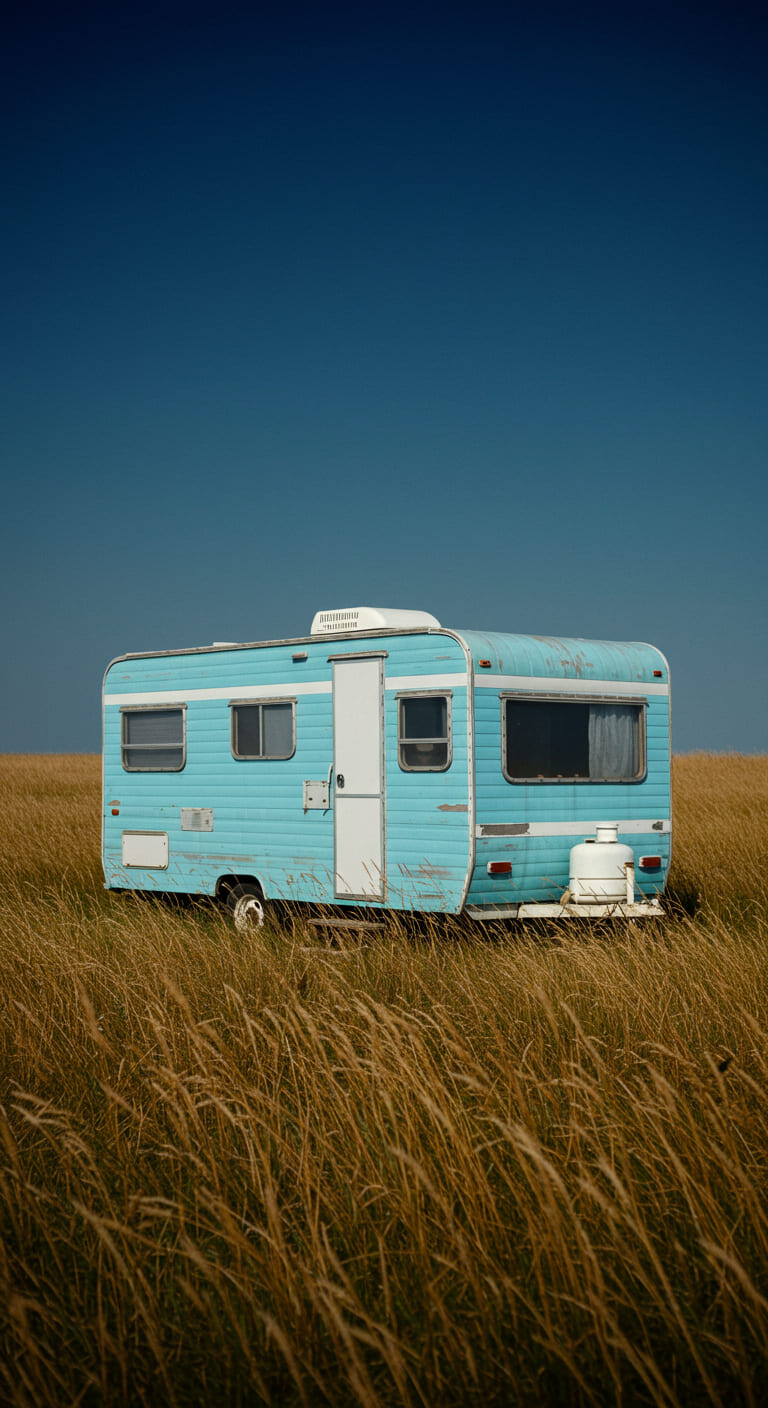
Before diving into the painting process, it’s essential to understand the materials your mobile home is built from. Most mobile homes have either aluminum or vinyl siding, which requires different approaches for painting.
Aluminum Siding
Aluminum siding is lightweight and resistant to rust, but it can be prone to fading and can develop a chalky finish over time. To paint aluminum siding effectively, I’ve learned the following:
- Clean Thoroughly: Using a pressure washer or a mixture of water and mild detergent, I scrubbed the surface to remove dirt and chalk.
- Choose the Right Primer: A high-quality primer specifically designed for metal surfaces is crucial. It helps the paint adhere better and prevents rust.
- Use Acrylic Paint: Opting for a 100% acrylic latex paint ensures flexibility and durability, which is vital for withstanding the elements.
Vinyl Siding
Vinyl siding is popular for its low maintenance, but painting it requires careful consideration:
- Check the Temperature: It’s important to paint vinyl siding when temperatures are between 50°F and 85°F to avoid warping.
- Use Vinyl Safe Paint: Selecting a paint labeled as vinyl safe prevents the paint from absorbing too much heat, which can lead to deformation.
- Consider the Color: Lighter colors work best as they reflect sunlight. Darker colors can absorb heat, causing potential issues.
Preparation: The Key to a Successful Paint Job
Preparation is half the battle when it comes to painting a mobile home. I recall my first attempt, where I skipped this crucial step and paid the price with chipping paint within months. Here’s how I prepare for a flawless finish:
Cleaning and Repairing
Before painting, I carefully inspect the exterior for any signs of damage:
- Wash the Surface: A thorough wash with a pressure washer removes dirt, mold, and mildew.
- Fill Cracks and Holes: Using caulk or a patching compound ensures a smooth surface. I focus on seams where water can seep in.
- Sand Rough Areas: Lightly sanding the surface helps the paint adhere better.
Gathering Supplies
My painting arsenal includes:
- Paint (acrylic or vinyl safe)
- Primer
- Quality brushes and rollers
- Drop cloths
- Tape for masking
- Safety gear (gloves, mask, goggles)
The Painting Process: Step by Step
Armed with my supplies and a solid plan, I’m ready to start painting. Here’s the process I follow:
Step 1: Priming the Surface
After ensuring the surface is clean and repaired, I apply a coat of primer. This step is crucial for adhesion and longevity:
- Even Application: Using a roller for larger areas and a brush for corners ensures an even coat.
- Drying Time: I allow the primer to dry completely before moving on, as this prevents any issues with the topcoat.
Step 2: Painting the Exterior
Once the primer is dry, I start with the actual painting:
- First Coat: I apply the first coat of paint using a roller for large areas and a brush for detailed work.
- Multiple Coats: Depending on the color and type of paint, I usually apply two to three coats for full coverage.
- Drying Between Coats: Ensuring adequate drying time between coats helps achieve a smoother finish.
Step 3: Final Touches
After the final coat, I step back to admire my work. But I know that the job isn’t done yet:
- Remove Tape Carefully: I peel off the tape while the paint is slightly wet to avoid peeling.
- Clean Up: I clean my brushes and rollers immediately to ensure they last for future projects.
- Touch Up Areas: I inspect for any missed spots or uneven areas and touch them up as needed.
Expert Tips for a Successful DIY Painting Project
Through my experiences and research, I’ve gathered some expert tips to enhance my painting project:
- Choose the Right Weather: Avoid painting on windy or rainy days, as this can affect drying times and finish quality.
- Consider a Sprayer: For larger surfaces, a paint sprayer can save time and provide an even coat.
- Work from Top to Bottom: This technique helps prevent drips and ensures that any paint drips down onto unpainted areas.
- Safety First: Always wear appropriate safety gear when painting, especially when working with strong chemicals.
Case Studies: Success Stories from Fellow DIYers
To further illustrate the power of a fresh coat of paint, I reached out to fellow mobile homeowners who embarked on their painting journeys. Here’s what they had to say:
Case Study 1: Transforming a Dated Home
Sarah, a mobile home enthusiast, shared her story of transforming a dated brown home into a modern gray haven. By following a similar process, she achieved:
- A striking curb appeal that attracted compliments from neighbors.
- Increased property value that helped her secure a better mortgage rate.
Case Study 2: Budget-Friendly Refresh
Mike, a budget-conscious DIYer, painted his home using leftover paint from previous projects. His tips included:
- Mixing colors to create a unique shade.
- Using eco-friendly paint to minimize environmental impact.
Statistics to Consider
According to a survey conducted by the National Association of Realtors, 75% of homeowners believe that a fresh coat of paint significantly increases their home’s value. Furthermore, homes with updated exteriors sell 10% faster than those that don’t. These statistics highlight the importance of maintaining the exterior of a mobile home.
Conclusion: Your Turn to Shine
Painting my mobile home has been one of the most rewarding DIY projects I’ve undertaken. Not only has it improved the aesthetic appeal, but it has also given me a sense of accomplishment and pride in my home. By following the steps and tips outlined in this article, I’m confident that you, too, can achieve a stunning transformation.
So, are you ready to embark on your painting journey? Whether you’re looking to refresh your home’s exterior or completely change its look, the best way to paint a mobile home is by being prepared, patient, and persistent. If you have any questions or want to share your success stories, please reach out!
FAQs
1. How long does paint last on a mobile home?
With proper preparation and quality paint, a good exterior paint job can last anywhere from 5 to 10 years.
2. Can I paint over existing paint?
Yes, but ensure the old paint is in good condition. If it’s peeling or chipping, it’s best to strip it back to the base material.
3. Do I need to use a primer?
Using a primer is highly recommended as it enhances adhesion and durability.
If you found this article helpful, please consider signing up for our newsletter for more tips and tricks on home improvement. Also, don’t forget to share this article with friends and on social media to inspire others on their DIY journey!
Oyviny 7 to 4 & 5 Pin Trailer Adapter, 2-in-1 Design
$9.99 (as of November 13, 2025 07:53 GMT -03:00 - More infoProduct prices and availability are accurate as of the date/time indicated and are subject to change. Any price and availability information displayed on [relevant Amazon Site(s), as applicable] at the time of purchase will apply to the purchase of this product.)
Sign up for our newsletter and stay up to date with exclusive news
that can transform your routine!