Welcome to my artistic adventure where I’ll guide you through the captivating process of drawing a trailer house! Drawing can be both an enjoyable and therapeutic experience, and I believe that anyone can create stunning artwork with the right tools and guidance. In this article, I will share my step-by-step approach to drawing a trailer house, provide tips to enhance your skills, and encourage you to share your creations for valuable feedback. So, grab your pencils and let’s get started!
The Allure of Trailer Houses
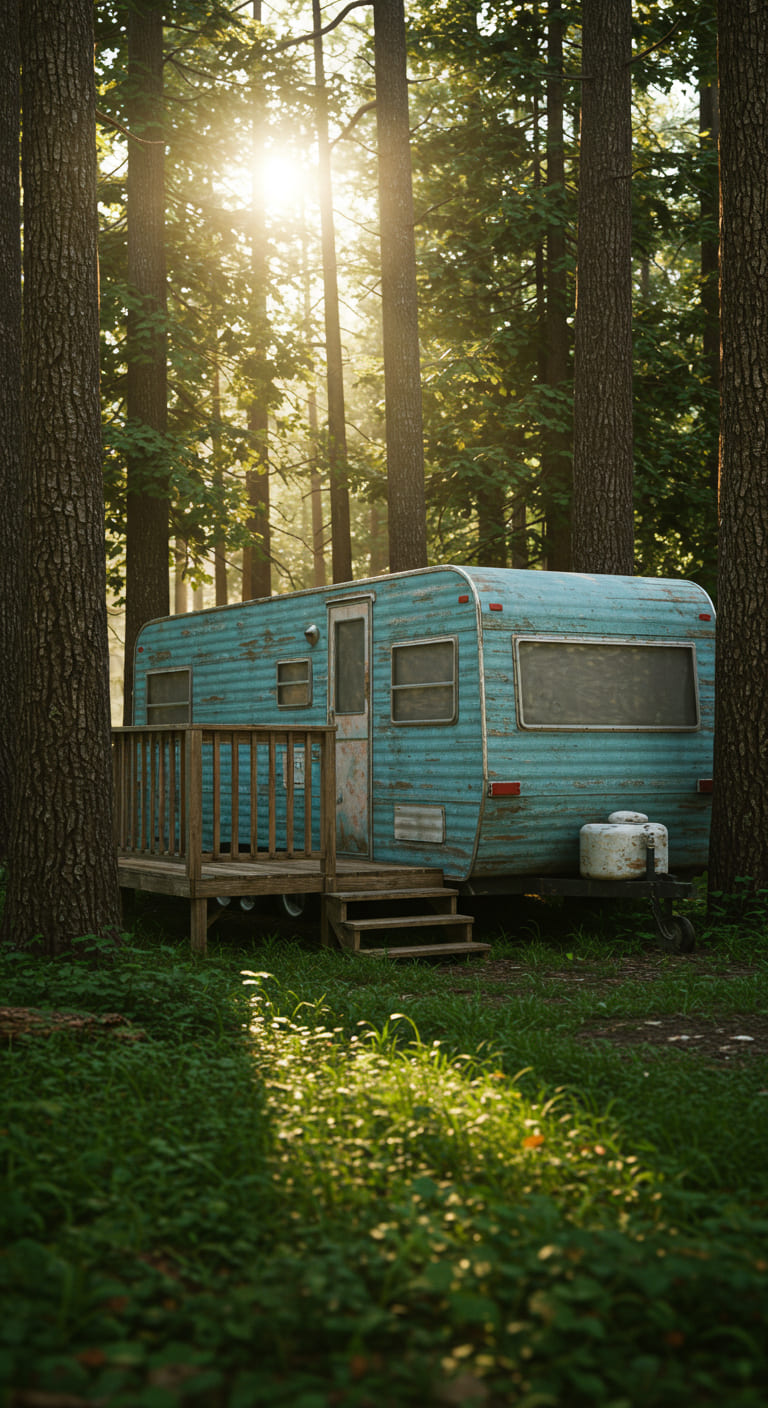
Before we dive into the drawing process, let’s take a moment to appreciate the charm of trailer houses. These cozy, mobile homes have become symbols of freedom, adventure, and a simpler way of living. Known for their unique designs and vibrant colors, trailer houses offer a sense of nostalgia and comfort. Whether you are an aspiring artist or simply someone who admires the aesthetic, understanding the essence of a trailer house will greatly enhance your drawing experience.
Essential Tools for Drawing
To embark on your drawing journey, you’ll need to gather some essential tools. Here’s what I recommend:
- Pencils: A range of pencils (HB, 2B, 4B) will help you achieve different shades and textures.
- Eraser: A good quality eraser is crucial for correcting mistakes and refining your work.
- Paper: Choose a sketchpad or drawing paper that suits your style. I prefer heavyweight paper for better texture.
- Ruler: A ruler will assist you in creating straight lines and proper dimensions.
- Colored Pencils or Markers: If you wish to add color to your drawing, these tools will help you bring your artwork to life.
Step-by-Step Guide to Drawing a Trailer House
Step 1: Sketch the Basic Structure
The first step in drawing a trailer house is to outline the basic structure. Start with a simple rectangular shape for the body of the trailer. Use your ruler to ensure straight lines:
- Draw a long rectangle for the main body.
- Add a smaller rectangle on top for the roof. This can be a flat or sloped roof, depending on your design.
- Sketch in two circles at the bottom for the wheels. Make sure they are evenly spaced and aligned.
Step 2: Add Details to the Structure
Now that you have the basic shape, it’s time to add details that will make your trailer house unique:
- Windows: Draw rectangular or square windows along the sides. Don’t forget to add curtains or shades for character!
- Doors: Sketch a door on one side. Consider adding a small porch or steps leading up to the entrance.
- Roof Details: If you opted for a sloped roof, add shingles or a texture to give it depth.
Step 3: Enhance with Textures and Patterns
To give your trailer house a more realistic appearance, incorporate textures and patterns:
- Wooden Panels: If your trailer has a wooden finish, lightly draw vertical lines to mimic wood grain.
- Color Patterns: Consider adding color blocks or stripes to the body of the trailer for a fun, lively look.
- Landscaping: Sketch in trees, bushes, or a small garden around your trailer to create a cozy environment.
Step 4: Outline Your Drawing
Once you are satisfied with the details, it’s time to outline your drawing. Use a darker pencil or a fine-tipped pen to go over your pencil lines. This will help your artwork stand out:
- Be careful to follow the curves and angles closely.
- Erase any unnecessary pencil marks after outlining.
- Consider adding shading to give depth, especially under the trailer and around the wheels.
Step 5: Add Color
Coloring can be the most exciting part of the drawing process. Choose colors that resonate with you and reflect the personality of your trailer house:
- Bright, vibrant colors can evoke a sense of joy and adventure.
- Earthy tones can create a rustic, homey feel.
- Use colored pencils or markers to fill in your drawing, layering colors for depth and dimension.
Step 6: Final Touches
After coloring, take a moment to review your work. Add any final touches that will enhance your drawing:
- Highlights: Use a white pencil or gel pen to add highlights on windows and other reflective surfaces.
- Background: Consider adding a simple background, such as a sunset or mountains, to complement your trailer.
- Signature: Don’t forget to sign your artwork! This is your creation, and it deserves recognition.
Sharing Your Artwork for Feedback
Now that you have completed your trailer house drawing, it’s time to share your masterpiece! Sharing your artwork can be an incredibly rewarding experience. Here are some ways to share and gather feedback:
- Social Media: Platforms like Instagram, Facebook, and Pinterest are great for showcasing your work. Use relevant hashtags like #TrailerHouseArt or #DrawingCommunity to reach a wider audience.
- Art Forums: Join online art forums or communities where you can post your artwork and receive constructive criticism.
- Local Art Groups: Consider joining a local art group or workshop. Sharing your work in person can lead to valuable insights and friendships.
Learning from Feedback
Receiving feedback can be daunting but incredibly beneficial. Here’s how to make the most of the feedback you receive:
- Stay Open-Minded: Remember that feedback is an opportunity for growth. Approach it with an open heart and mind.
- Ask Specific Questions: When sharing your work, ask for specific feedback to gain insights that are most relevant to you.
- Apply What You Learn: Take note of the constructive criticism and apply it to your future artwork. This will help you improve over time.
Conclusion
Drawing a trailer house can be a delightful and fulfilling experience. By following this step-by-step guide, you can create your own unique masterpiece that reflects your personality and artistic style. Remember to gather feedback on your artwork, as it is a vital part of the artistic journey. Whether you are a seasoned artist or a beginner, the joy of creating is what truly matters. So, grab your supplies, unleash your creativity, and let your artistic spirit soar!
FAQ
Q: What if I’m not good at drawing?
A: Remember, practice makes perfect! Everyone starts somewhere, and the more you draw, the better you will become.
Q: Can I use digital tools to draw?
A: Absolutely! Many artists use digital software and tablets to create stunning artwork. The principles remain the same.
Q: How do I find art communities to share my work?
A: Look for local art groups, join online forums, or engage with social media art communities. There are plenty of platforms where you can connect with fellow artists.
If you enjoyed this article and found it helpful, consider signing up for our newsletter for more artistic tips and insights. Don’t forget to share this with your friends and on social media to inspire others to embark on their drawing journey!

RVGUARD RV Water Pressure Regulator Valve, Brass Lead-Free Adjustable Water Pressure Reducer with Gauge and Inlet Screen Filter for RV Camper Travel Trailer
$27.99 (as of October 11, 2025 07:03 GMT -03:00 - More infoProduct prices and availability are accurate as of the date/time indicated and are subject to change. Any price and availability information displayed on [relevant Amazon Site(s), as applicable] at the time of purchase will apply to the purchase of this product.)
Sign up for our newsletter and stay up to date with exclusive news
that can transform your routine!