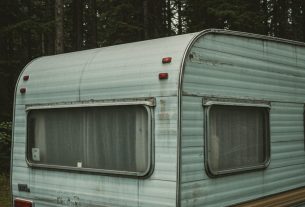
As a proud owner of a trailer home, I’ve often found myself dreaming of ways to enhance its curb appeal and make it feel more like a cozy haven. For many of us, our homes are a reflection of our personalities, and I believe that even a trailer can shine with the right coat of paint. In this article, I’ll share my journey into the world of trailer home exterior paint, providing you with insightful tips, inspiring ideas, and practical advice for transforming your space. So, let’s dive in!
Why Paint Your Trailer Home?
When I first moved into my trailer home, I was overwhelmed by the possibilities. Painting the exterior was more than just a cosmetic upgrade; it was a chance to express my creativity and boost the property’s value. Here are a few compelling reasons why you should consider painting your trailer:
- Increased Curb Appeal: A fresh coat of paint can dramatically enhance the visual appeal of your trailer, making it stand out in the neighborhood.
- Protection Against Elements: Quality exterior paint acts as a protective barrier against weather conditions, preventing moisture damage and extending the life of your trailer.
- Personal Expression: Your home should reflect your style. Choosing the right colors and finishes can make your trailer feel uniquely yours.
- Increased Resale Value: If you ever decide to sell your trailer, a well-painted exterior can significantly increase its market value.
Choosing the Right Paint for Your Trailer
After deciding to paint my trailer, I faced the daunting task of choosing the right paint. Not all paints are created equal, and understanding the differences can save you time and money in the long run. Here’s what I learned:
Types of Paint
There are several types of paint suitable for trailer exteriors:
- Acrylic Paint: Water-based and easy to work with, acrylic paint is resistant to fading and mildew, making it a popular choice for trailers.
- Oil-Based Paint: Known for its durability, oil-based paint provides a hard finish but takes longer to dry and requires solvents for cleanup.
- Vinyl Siding Paint: Specifically designed for vinyl surfaces, this paint adheres well and resists peeling and fading.
Color Selection
Choosing the right color can be a thrilling yet challenging process. I found that considering the following factors helped me in making the right choice:
- Neighborhood Aesthetics: Observe the colors that complement the surrounding homes.
- Climate: Lighter colors reflect heat, which is beneficial in warmer climates, while darker shades may absorb warmth.
- Personal Preference: Ultimately, your choice should resonate with your style and personality.
Preparing Your Trailer for Painting
Before diving into the painting process, preparation is crucial. I learned this the hard way! Here’s a step-by-step guide to prepping your trailer:
1. Clean the Surface
Start by thoroughly cleaning the exterior. I used a pressure washer to remove dirt, grime, and any old peeling paint. A clean surface ensures better paint adhesion.
2. Repair Damages
Inspect your trailer for any damages such as cracks or holes. I filled these with a high-quality filler and sanded them down for a smooth finish.
3. Prime the Surface
Applying a primer is essential, especially if you’re painting over a different color or material. I chose a high-quality exterior primer that suited my paint type, which helped in achieving a vibrant finish.
The Painting Process
Now comes the fun part! Painting your trailer can be a rewarding experience. Here’s a simple guide that I followed:
Gather Your Supplies
Before starting, gather all necessary supplies:
- Exterior paint
- Paintbrushes and rollers
- Drop cloths to protect the ground
- Painter’s tape for clean lines
- Paint tray
- Safety gear (gloves, mask, goggles)
1. Start with the Edges
I began by painting the edges and corners with a brush. This helps in getting a neat finish before rolling out larger areas.
2. Roll the Walls
Using a roller, I painted the larger wall areas, working in sections. I found that applying two coats yielded the best results for color depth and durability.
3. Touch Up and Clean Up
After the paint dried, I did a thorough inspection for any missed spots or uneven surfaces and touched those up. Finally, I cleaned my brushes and disposed of any used materials responsibly.
Inspiring Color Combinations
Choosing a color scheme can make or break your trailer’s exterior. Here are a few combinations I found particularly inspiring:
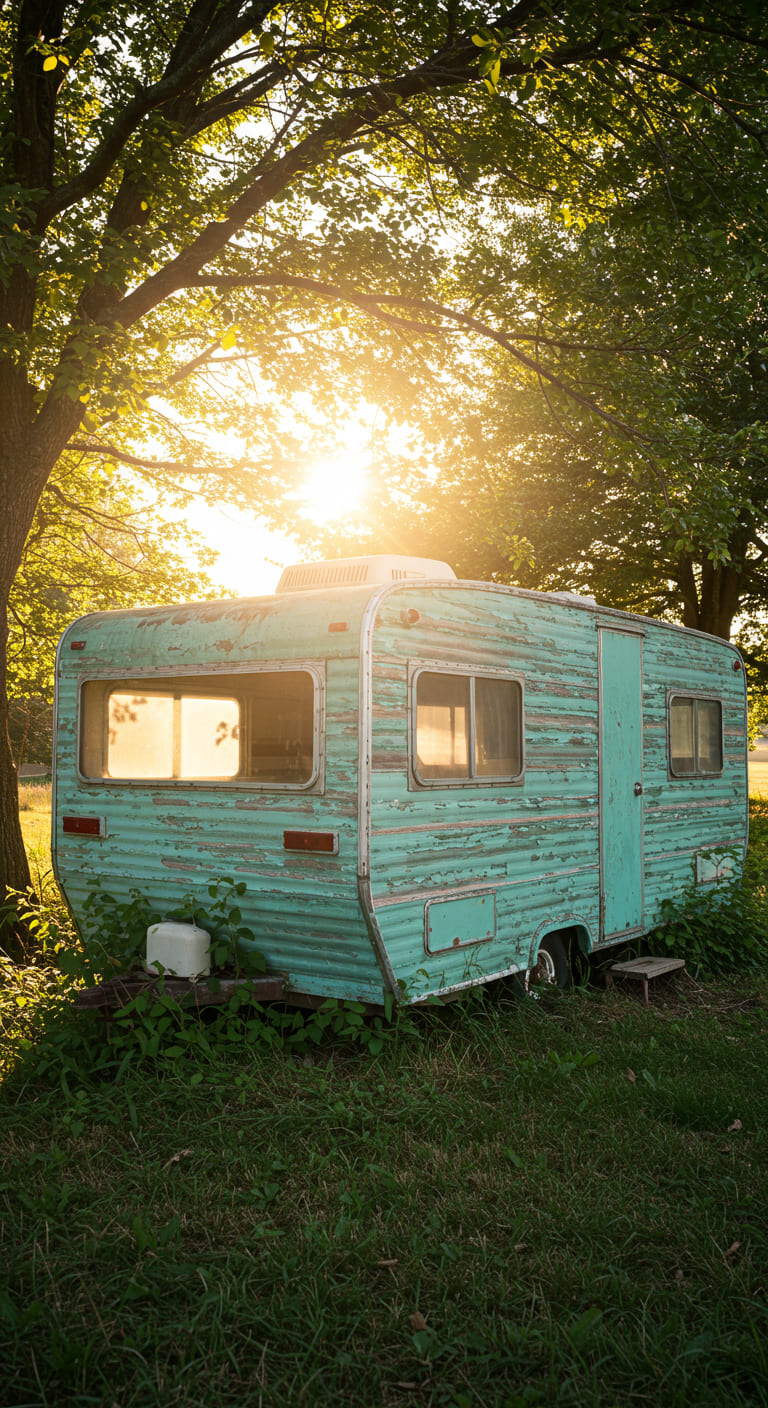
- Soft Pastels: A light blue or mint green paired with white trim creates a fresh, inviting look.
- Bold Contrasts: Dark gray with vibrant yellow accents can add a modern touch to your trailer.
- Earthy Tones: Shades of brown and terracotta blend seamlessly with natural surroundings.
Case Studies: Successful Trailer Transformations
To inspire you further, let me share a few successful case studies of trailer transformations through exterior painting:
Case Study 1: The Beach Retreat
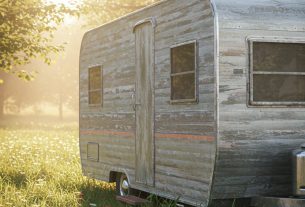
A couple turned their old, faded trailer into a stunning beach retreat by using a bright turquoise color with white trim. They added nautical-themed decor, turning their trailer into a cozy getaway.
Case Study 2: The Rustic Cabin
Another owner opted for a deep forest green with natural wood accents, giving their trailer a rustic cabin vibe. This color choice helped it blend seamlessly with the surrounding trees.
Case Study 3: The Vintage Charm
One creative soul painted their trailer in a soft yellow with gray trim, evoking a vintage charm that attracted compliments from neighbors. They topped it off with charming outdoor decor.
Maintaining Your Newly Painted Trailer
After all the hard work, you’ll want to keep your trailer looking fresh. Here are some maintenance tips I learned through experience:
- Regular Cleaning: Clean your trailer’s exterior at least once a year to remove dirt and prevent mildew.
- Inspect for Damage: Regularly check for any peeling or cracks and address them immediately to prevent further damage.
- Repaint as Needed: Depending on the quality of your paint and exposure to elements, you may need to repaint every 5-10 years.
Frequently Asked Questions
What type of paint can I use on a trailer home?
You can use acrylic, oil-based, or specifically formulated vinyl siding paints for trailer exteriors. Ensure the paint is suitable for your trailer’s material.
How long does trailer paint last?
With proper preparation and application, exterior paint can last between 5 to 10 years, depending on the quality of the paint and environmental conditions.
Can I paint my trailer without removing the old paint?
Yes, but it’s crucial to ensure the old paint is in good condition. If it’s peeling or cracking, it’s best to remove it before applying new paint.
What are the best colors for a trailer home?
Choosing the best color depends on your personal preference, but popular choices include soft pastels, bold contrasts, and earthy tones that blend with nature.
Conclusion
Transforming my trailer home through exterior painting was one of the most rewarding projects I’ve undertaken. Not only did it enhance the aesthetic appeal, but it also provided a sense of pride and ownership. I hope this article has inspired you to embark on your own painting journey. Remember, your home is your canvas, and with the right tools, techniques, and creativity, you can create a beautiful space that reflects who you are.
If you found this article helpful, I encourage you to sign up for our newsletter for more tips and inspiring ideas! Don’t forget to share this with your friends and on social media to spread the love for trailer home transformations!
Car Jack Kit Scissor Jack for Car 2 Ton (4409 lbs) Tire Jack Tool Kit Universal Car Emergency Kit with Lug Wrench Tire Changing Kit for Car SUV (2T)
$35.99 (as of November 16, 2025 07:53 GMT -03:00 - More infoProduct prices and availability are accurate as of the date/time indicated and are subject to change. Any price and availability information displayed on [relevant Amazon Site(s), as applicable] at the time of purchase will apply to the purchase of this product.)
Sign up for our newsletter and stay up to date with exclusive news
that can transform your routine!