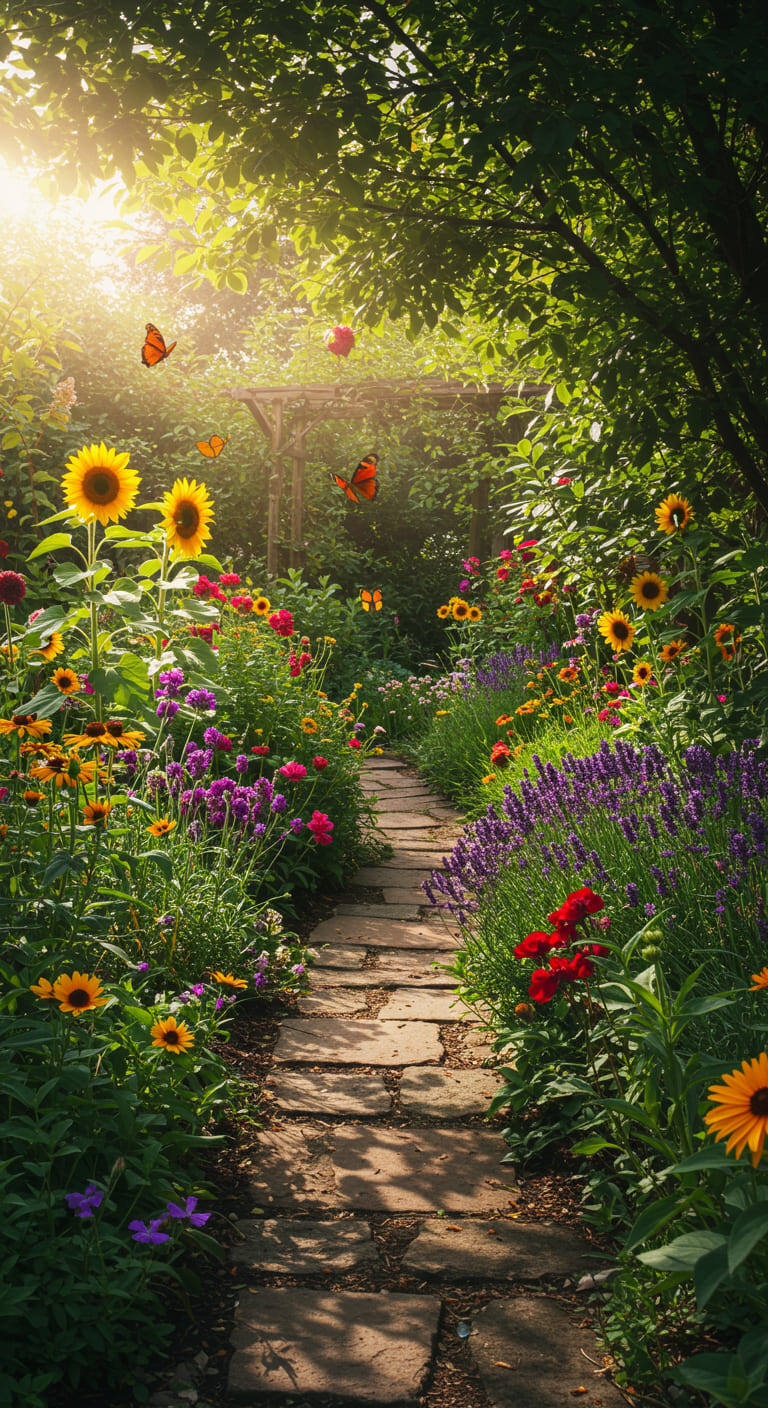
As I stand in my backyard, I often find myself imagining the lush garden that could thrive in this space. Every time I walk outside, I’m reminded of the potential that lies in the soil, waiting to be unleashed. If you’ve ever felt the same way, then this article is for you. Today, I want to share my insights into the world of planting—how to understand your garden’s potential and the steps you need to take to start planting today.
Understanding Your Garden’s Soil
The first step in unleashing your garden’s potential is understanding the soil. Soil is more than just dirt; it’s a living ecosystem that supports plant life. Here are some key aspects I’ve learned about soil:
- Soil Type: There are three main types of soil: sandy, clay, and loamy. Each has its own characteristics and benefits for different types of plants.
- pH Level: The pH level of your soil indicates its acidity or alkalinity. Most plants thrive in a pH range of 6.0 to 7.5. Testing your soil’s pH can be done with a simple kit from a garden center.
- Nutrient Content: Healthy soil contains essential nutrients such as nitrogen, phosphorus, and potassium. A soil test can help you determine what nutrients your soil lacks.
To maximize your garden’s potential, I recommend conducting a soil test before you start planting. This will give you a clear picture of your soil’s health and what amendments might be necessary.
Choosing the Right Plants
Once I’ve understood my soil, the next step is choosing the right plants for my garden. The key is to select plants that thrive in my specific conditions. Here are some tips to help you choose wisely:
- Climate Compatibility: Research which plants grow best in your climate zone. For example, if you live in a warmer region, consider planting drought-resistant varieties.
- Sunlight Requirements: Observe how much sunlight your garden receives throughout the day. Some plants require full sun, while others thrive in partial shade.
- Soil Preferences: Match plants with the soil type you have. Some plants prefer sandy soil, while others thrive in clay or loamy soil.
One of my favorite resources is the USDA Plant Hardiness Zone Map, which helps gardeners identify suitable plants based on their local climate conditions. By selecting the right plants, I set myself up for success right from the start.
Preparing Your Garden Bed
Preparation is crucial for a thriving garden. I’ve learned that how I prepare my garden bed can significantly impact plant growth. Here’s a step-by-step guide on how to prepare your garden bed:
- Choose the Location: Select a site that receives adequate sunlight and has good drainage.
- Clear the Area: Remove any weeds, rocks, or debris from the area where you plan to plant.
- Till the Soil: Loosen the soil using a shovel or garden tiller. This aerates the soil and makes it easier for roots to grow.
- Add Organic Matter: Incorporate compost or well-rotted manure into the soil to improve its nutrient content and structure.
- Level the Bed: Rake the soil to create a smooth, even surface for planting.
By spending a little extra time preparing my garden bed, I ensure that my plants have the best possible start. Healthy soil leads to healthy plants!
Timing Your Planting
Timing is everything when it comes to planting. I’ve discovered that understanding the right time to plant can make a world of difference. Here are some tips for timing your planting:
- Seasonal Considerations: Different plants have specific growing seasons. For instance, cool-season crops like lettuce can be planted in early spring or fall, while warm-season crops like tomatoes should be planted after the last frost.
- Frost Dates: Knowing your area’s average last frost date in spring and first frost date in fall will help you time your planting accurately.
- Seed vs. Transplants: Some plants can be started from seeds indoors, while others do better when transplanted. Research whether to start your plants from seeds or purchase young plants from a nursery.
I always keep a gardening calendar handy to track planting dates and frost dates, ensuring that I never miss an opportunity to sow seeds or transplant seedlings.
Planting Techniques
Now that I’ve prepared my garden bed and chosen the right plants, it’s time to get my hands dirty! Here are some planting techniques I’ve found effective:
- Sowing Seeds: If I’m planting seeds, I follow the recommended depth and spacing guidelines on the seed packet. This ensures that seeds have enough room to grow without competing for resources.
- Transplanting Seedlings: When transplanting seedlings, I dig a hole that’s slightly larger than the root ball. After placing the seedling in the hole, I gently backfill with soil and water thoroughly.
- Companion Planting: I often use companion planting techniques, where I plant different species close together for mutual benefits, such as pest control or improved growth.
Remember, planting is an investment in the future of your garden. Taking the time to follow proper techniques will yield bountiful rewards later on.
Watering Wisely
Watering is another critical component of successful gardening. I’ve learned that it’s not just about giving my plants enough water; it’s about watering wisely. Here are some tips I follow:
- Know Your Plants: Different plants have different water needs. For example, succulents require less water than leafy greens.
- Watering Schedule: I water deeply but less frequently, allowing the soil to dry out slightly between waterings. This encourages deep root growth.
- Time of Day: I prefer to water in the early morning or late afternoon to minimize evaporation and allow plants to absorb water effectively.
Monitoring the moisture level of my soil has helped me avoid overwatering or underwatering, leading to healthier plants and a more productive garden.
Weed and Pest Control
Every gardener faces challenges with weeds and pests. I’ve found that proactive measures can significantly reduce these issues. Here are my go-to strategies:
- Mulching: Applying a layer of mulch around my plants helps suppress weeds and retain moisture in the soil.
- Hand Weeding: I regularly check my garden for weeds and pull them out by hand before they have a chance to establish.
- Natural Pest Control: I encourage beneficial insects like ladybugs and lacewings, which help control pest populations naturally.
By staying vigilant and employing these strategies, I can protect my garden and ensure that my plants remain healthy and productive.
Fertilizing for Growth
To boost my garden’s productivity, I’ve learned the importance of fertilizing my plants appropriately. Here’s what I do to ensure my plants receive the nutrients they need:
- Types of Fertilizers: I use both organic and synthetic fertilizers depending on the needs of my plants. Organic options like compost and fish emulsion enrich the soil naturally.
- Timing of Application: I fertilize when my plants are actively growing, typically in the spring and mid-summer, to provide them with the necessary nutrients.
- Follow Instructions: I always follow the recommended application rates on the fertilizer packaging to avoid over-fertilizing, which can harm my plants.
With proper fertilization, I’ve seen my plants thrive and produce bountiful harvests.
Harvesting Your Bounty
After months of hard work, the moment of truth arrives—harvesting! There’s nothing quite like the satisfaction of reaping the rewards of my labor. Here are some tips I’ve learned for effective harvesting:
- Timing: I harvest fruits and vegetables at their peak ripeness for the best flavor and texture. Each plant has its own signs of readiness, so I keep a close eye on them.
- Tools: I use sharp shears or scissors to make clean cuts, minimizing damage to the plant.
- Storage: After harvesting, I store my produce properly to maintain freshness. For example, leafy greens should be kept in the refrigerator, while root vegetables can be stored in a cool, dark place.
Harvesting is the culmination of my gardening efforts, and I take pride in sharing my bounty with family and friends.
Continuous Learning and Improvement
Gardening is a journey filled with constant learning and growth. I’ve found that each season brings new challenges and opportunities. Here are ways I continue to improve my gardening skills:
- Join Local Gardening Groups: Connecting with fellow gardeners in my community provides valuable insights and tips.
- Read Gardening Books and Blogs: I regularly consume literature on gardening techniques and trends to stay informed.
- Experiment: I’m not afraid to try new plants or techniques. Each experiment teaches me something new about gardening.
By embracing a growth mindset, I continually enhance my gardening skills and expand my garden’s potential.
Conclusion: Your Garden Awaits!
As I reflect on my gardening journey, I’m reminded that the potential of my garden is limited only by my knowledge and willingness to learn. By understanding my soil, choosing the right plants, preparing my garden bed, and following proper planting techniques, I’ve transformed my backyard into a flourishing oasis. The rewards of gardening extend beyond the harvest; they include the joy of nurturing life and the satisfaction of creating something beautiful.
So, are you ready to discover your garden’s potential? Start planting today, and watch as your efforts blossom into a vibrant, thriving garden. If you have any questions or need further assistance, please check out our FAQ section below!
FAQ
Q: How can I improve my soil quality?
A: You can improve your soil quality by adding organic matter, such as compost, and ensuring proper drainage.
Q: What are some easy plants for beginners?
A: Some easy plants for beginners include radishes, lettuce, and marigolds, as they require minimal care and grow quickly.
Q: How often should I water my garden?
A: Water deeply but less frequently, allowing the soil to dry out slightly between waterings. Monitor your plants for signs of wilting.
If you found this article helpful, please share it with friends and family, and consider signing up for our newsletter for more gardening tips and resources. Together, we can cultivate a greener world! 🌼
GORILLA GRIP 100% Waterproof All-Season WeatherMax Doormat US Designed Natural Rubber, Stain Fade Resistant, Low Profile Indoor Outdoor Door Mats, Easy Clean, 17x29 Gray Diamond
$16.99 (as of 01/02/2026 04:40 GMT -03:00 - More infoProduct prices and availability are accurate as of the date/time indicated and are subject to change. Any price and availability information displayed on [relevant Amazon Site(s), as applicable] at the time of purchase will apply to the purchase of this product.)
Sign up for our newsletter and stay up to date with exclusive news
that can transform your routine!


