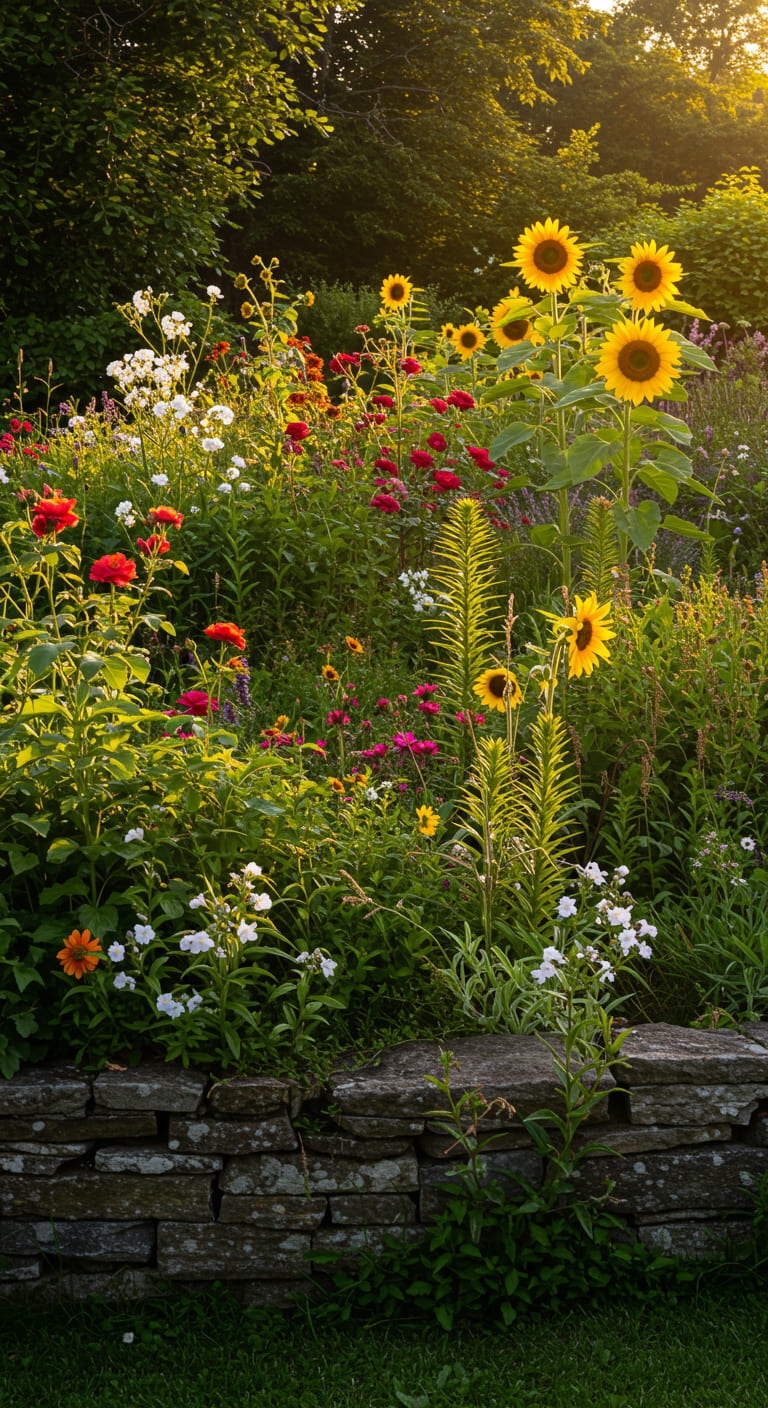
As a passionate gardener, I’ve always found joy in nurturing plants and watching them thrive. One of the most rewarding experiences in gardening is filling a raised garden bed, which not only improves soil drainage but also provides a controlled environment for your plants. In this article, I’ll share my expert tips on how to fill a raised garden, ensuring you create a thriving ecosystem for your plants. By the end, I hope to inspire you to share your gardening successes with our community!
Why Choose a Raised Garden Bed?
You might wonder, why go through the effort of building a raised garden bed? Here are some compelling reasons:
- Improved Drainage: Raised beds allow excess water to drain away quickly, preventing root rot.
- Better Soil Control: You can choose the soil and compost mix that best suits your plants.
- Pest Management: Elevated beds can deter some pests and make it easier to monitor and manage them.
- Easier Access: No more bending over! Raised beds are easier on the back and knees.
- Extended Growing Season: The soil in raised beds warms up faster in the spring, allowing for earlier planting.
Now that we understand the benefits, let’s dive into how to fill a raised garden bed effectively.
1. Choose the Right Location
Before filling your raised garden, the first step is selecting the perfect spot. Here’s what to consider:
- Sunlight: Most vegetables require 6-8 hours of direct sunlight, so choose a sunny location.
- Accessibility: Ensure the bed is easily reachable for maintenance and harvesting.
- Drainage: Avoid low spots where water tends to pool.
- Proximity to Water: Having a water source nearby makes irrigation much easier.
2. Building the Raised Bed
Once you have determined the ideal location, it’s time to build the raised bed. Here’s a simple guide:
- Materials: Use untreated wood, bricks, or stone to create the frame. Avoid treated lumber as it may leach chemicals into the soil.
- Dimensions: A typical raised bed is 4 feet wide and 6-8 feet long, with a height of 12-24 inches.
- Level the Ground: Ensure the area is level before placing the frame to avoid uneven settling.
3. Filling the Raised Garden Bed
Now comes the fun part—filling your raised garden bed! Here’s a step-by-step guide:
Layering the Soil
The key to a successful raised garden bed is layering. Here’s how to do it:
- Bottom Layer (Coarse Materials): Start with coarse materials like branches, twigs, or straw. This layer helps with drainage and aeration.
- Middle Layer (Green Materials): Add kitchen scraps, grass clippings, or other green materials. These will decompose and provide nutrients.
- Top Layer (Soil Mix): Finally, fill the bed with a high-quality soil mix. A good blend includes:
- 1 part compost
- 1 part topsoil
- 1 part peat moss or coconut coir
Testing Soil pH
After filling your raised bed, testing the soil pH is crucial. Most vegetables prefer a pH of 6.0 to 7.0. You can use a simple soil test kit, available at garden centers, to determine the pH level. If your soil is too acidic or alkaline, you can amend it with lime or sulfur accordingly.
4. Choosing the Right Plants
With your raised bed filled, it’s time to choose the right plants. Here are some excellent options:
- Vegetables: Tomatoes, peppers, lettuce, and radishes thrive in raised beds.
- Herbs: Basil, cilantro, and parsley are perfect for smaller spaces.
- Flowers: Marigolds and nasturtiums can deter pests while adding beauty.
5. Caring for Your Raised Garden Bed
To maximize your garden’s potential, consistent care is essential. Here are some tips:
- Watering: Raised beds may dry out faster. Water deeply once a week, adjusting for rainfall.
- Weeding: Regularly check for weeds, pulling them out by the roots to prevent competition.
- Mulching: A layer of mulch conserves moisture and suppresses weeds.
- Fertilizing: Feed your plants with organic fertilizers, like compost or fish emulsion, to ensure they receive adequate nutrients.
6. Common Mistakes to Avoid
Even seasoned gardeners can make mistakes when filling a raised garden bed. Here are some common pitfalls and how to avoid them:
- Overfilling: Don’t pile the soil too high; it can lead to erosion and nutrient loss.
- Poor Drainage: Ensure your bottom layer is adequate for drainage to prevent root rot.
- Neglecting Soil Health: Regularly amend your soil with compost or organic matter to maintain fertility.
7. Gardening Success Stories
Sharing success stories can be incredibly motivating. Here are a few examples of individuals who transformed their gardening experience with raised beds:
- Case Study 1: Jane, a beginner gardener, built her first raised bed and successfully grew tomatoes and cucumbers, which she enjoyed sharing with her neighbors.
- Case Study 2: Mike, an avid gardener, transitioned from traditional gardening to raised beds, resulting in healthier plants and a bountiful harvest that exceeded his expectations.
- Case Study 3: Sarah, a city dweller, utilized her small balcony to create a vertical raised garden, allowing her to grow herbs and vegetables in limited space.
8. Frequently Asked Questions
What materials are best for building a raised garden bed?
Untreated wood, bricks, and stone are optimal materials. Avoid treated lumber due to potential chemical leaching.
How deep should a raised garden bed be?
A depth of 12-24 inches is ideal for most vegetables, allowing for adequate root growth.
Can I fill my raised bed with just soil?
While you can use only soil, layering with coarse materials and organic matter improves drainage and nutrient content.
How often should I water my raised garden bed?
Water deeply about once a week, adjusting based on rainfall, to keep the soil consistently moist but not soggy.
Conclusion
Filling a raised garden bed is not just about planting; it’s about creating an ecosystem where plants can thrive. By following these expert tips and avoiding common mistakes, you can enjoy a successful gardening experience. Remember, gardening is a journey filled with learning opportunities, so don’t hesitate to share your successes and challenges with our community. Together, we can cultivate a vibrant gardening culture!
If you found this article helpful, consider signing up for our newsletter to receive more gardening tips and success stories. Feel free to share this with friends and on social media to inspire others to grow their gardens!
Barrina T5 Grow Lights, 5000K White Full Spectrum LED Grow Light, 2ft 80W (8 x 10W) Plant Grow Lights for Indoor Plants, Plug and Play, 8-Pack
$51.84 (as of 01/02/2026 04:53 GMT -03:00 - More infoProduct prices and availability are accurate as of the date/time indicated and are subject to change. Any price and availability information displayed on [relevant Amazon Site(s), as applicable] at the time of purchase will apply to the purchase of this product.)
Sign up for our newsletter and stay up to date with exclusive news
that can transform your routine!