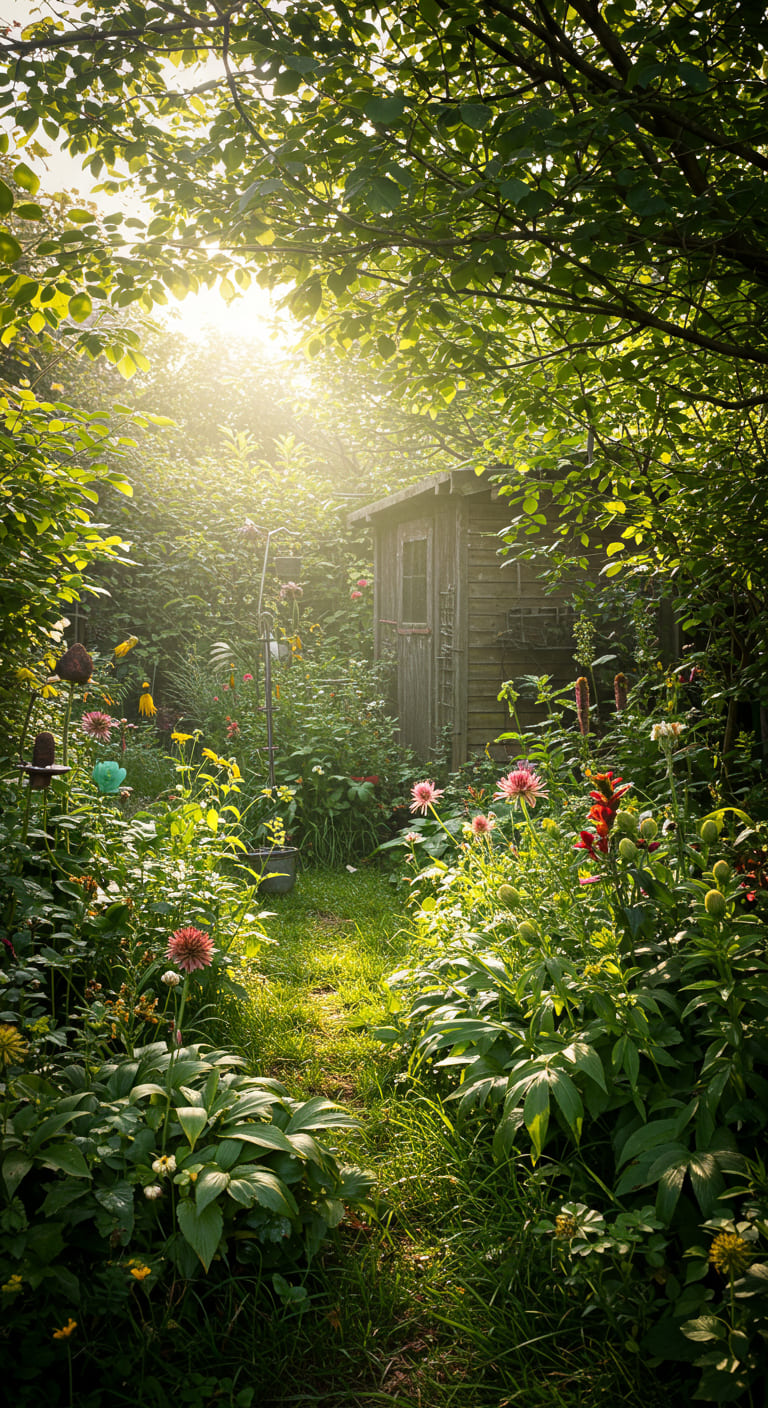
As an avid gardener, I often find myself contemplating the best ways to arrange plants in my garden. The right arrangement can transform a simple patch of earth into a vibrant oasis, a serene retreat, or a productive space for growing food. In this article, I will share my insights, tips, and techniques to help you design a stunning garden layout that reflects your style and meets your needs.
Understanding the Basics of Garden Design
Before diving into the specifics of plant arrangement, it’s crucial to understand some fundamental principles of garden design. These principles serve as the foundation for creating a harmonious and visually appealing space.
The Importance of Structure
Every successful garden begins with structure. This includes the layout, pathways, and focal points. Consider the following:
- Pathways: Create clear paths to guide visitors through your garden. Use gravel, stones, or pavers to define the space.
- Focal Points: Incorporate elements such as sculptures, benches, or water features to draw attention and provide a sense of purpose.
- Zones: Divide your garden into zones based on function (e.g., vegetable patch, flower beds, relaxation area) for better organization.
Consider Plant Characteristics
Each plant has unique characteristics that influence its placement. Here are several key factors to keep in mind:
- Height: Taller plants should be placed at the back of beds or in the center of circular arrangements, while shorter plants can be positioned in front.
- Color: Use complementary colors to create visual interest. Think about the color wheel when choosing plants.
- Texture: Mix plants with different leaf shapes and textures to add depth to your garden.
- Growth Habits: Consider the spread and growth habits of each plant. Some plants may need more space than others.
Planning Your Garden Layout
Now that we have a grasp of the basics, let’s explore how to plan your garden layout effectively. A well-thought-out design will not only enhance the beauty of your garden but also ensure plant health and ease of maintenance.
Step 1: Assess Your Space
Take a close look at the area where you plan to create your garden. Consider the following aspects:
- Sunlight: Observe how sunlight moves across your garden throughout the day. Identify areas that receive full sun, partial shade, or deep shade.
- Soil Type: Test your soil to determine its pH and nutrient content. This will help you choose plants that thrive in your specific conditions.
- Climate: Understand your local climate and choose plants that are suitable for your hardiness zone.
Step 2: Create a Rough Sketch
Once you have assessed your space, it’s time to put pencil to paper. Sketch a rough layout of your garden, including the following:
- Plant Beds: Outline where you want to place your plant beds, considering sunlight and accessibility.
- Pathways: Mark the location of paths to ensure easy navigation.
- Focal Points: Identify where you want to place any focal points or features.
Step 3: Choose Your Plants
Selecting the right plants is a crucial step in arranging your garden. Here are some tips to guide your choices:
- Annuals vs. Perennials: Consider a mix of both for a continuous bloom throughout the seasons. Annuals provide vibrant colors, while perennials offer stability.
- Native Plants: Incorporate native species, as they are better adapted to your local environment and support local wildlife.
- Companion Planting: Research plants that thrive together. For example, marigolds can deter pests from vegetable plants.
Arranging Plants for Maximum Impact
With your plants selected and your layout sketched, it’s time to arrange your plants for maximum impact. Here are some strategies I’ve found helpful:
Layering
Layering creates depth in your garden by placing plants of varying heights together. I like to follow this general rule:
- Back Row: Tall plants such as delphiniums or sunflowers.
- Middle Row: Medium-height plants like coneflowers or daylilies.
- Front Row: Low-growing plants such as petunias or creeping thyme.
Grouping
Grouping plants in clusters rather than scattering them throughout the garden can create a more cohesive look. Here’s how I typically approach it:
- Odd Numbers: Plant in odd numbers (three, five, seven) for a more natural appearance.
- Color Cohesion: Group plants of similar colors together to create a striking visual impact.
- Seasonal Interest: Plan for different seasons by grouping plants that bloom at various times of the year.
Creating Visual Pathways
Visual pathways guide the eye through the garden. Consider these elements:
- Curvilinear Paths: Instead of straight lines, use gentle curves to create a more inviting space.
- Plant Height Variation: Use varying heights to create layered views along the pathway.
- Color Variation: Alternate colors to draw attention along the path.
Incorporating Hardscaping Elements
In addition to plants, hardscaping elements can enhance your garden design. Here are some ideas:
- Patios and Decks: Create a seating area to enjoy your garden.
- Raised Beds: Incorporate raised beds for easier access and improved drainage.
- Garden Edging: Use stones or bricks to define plant beds and pathways.
Maintaining Your Garden Layout
Once your garden is arranged, maintenance becomes key to keeping it looking its best. Here are some maintenance tips I swear by:
- Regular Weeding: Keep weeds at bay to prevent them from competing with your plants.
- Mulching: Apply mulch to retain moisture and suppress weeds.
- Pruning: Regularly prune plants to encourage healthy growth and maintain shape.
- Seasonal Adjustments: Be open to rearranging plants as they grow and change through the seasons.
Case Studies: Successful Garden Arrangements
To illustrate the power of thoughtful plant arrangement, let me share a couple of case studies from gardens I’ve created or visited.
Case Study 1: The Urban Oasis
In a small urban backyard, I transformed a concrete space into a lush retreat. The design included:
- Vertical Gardens: To maximize space, I installed vertical planters filled with herbs and flowers.
- Layered Planting: I used tall sunflowers at the back, medium-height zinnias, and low-growing basil in front.
- Seating Area: A small bistro table and chairs created a cozy nook.
The result was a vibrant, inviting space that provided a welcome escape from the city hustle.
Case Study 2: The Family Vegetable Garden
In a larger suburban yard, I designed a family vegetable garden that not only provided fresh produce but also fostered family activities. Key elements included:
- Raised Beds: I built raised beds for easy access and improved soil quality.
- Companion Planting: Tomatoes were paired with basil to enhance growth and flavor.
- Pathways: Gravel paths between the beds facilitated easy access for weeding and harvesting.
This garden became a gathering spot for family activities, teaching children about gardening and healthy eating.
Conclusion
Arranging plants in a garden is both an art and a science. By understanding the basics of garden design, planning your layout, and considering the unique characteristics of each plant, you can create a stunning garden space that brings joy and utility to your life. Remember to maintain your garden and be open to adjustments as your plants grow and seasons change.
Now, I’d love to hear from you! What are your dream garden designs? Share your thoughts and ideas with us in the comments below. If you found this article helpful, please sign up for our newsletter for more tips and inspiration, and don’t forget to share this article with your friends on social media!
FAQ
What is the best time to arrange plants in my garden?
The best time to arrange plants is during the spring or fall when temperatures are milder, allowing for easier planting and less stress on the plants.
How do I choose the right plants for my garden?
Choose plants based on your local climate, soil type, sunlight exposure, and personal preferences. Research native plants for the best results.
Can I change my garden layout after planting?
Yes, you can adjust your garden layout as plants grow. Be mindful of their root systems and growth habits when making changes.
What tools do I need to arrange plants in a garden?
Basic gardening tools such as a shovel, trowel, pruning shears, and a rake are essential for arranging plants effectively.
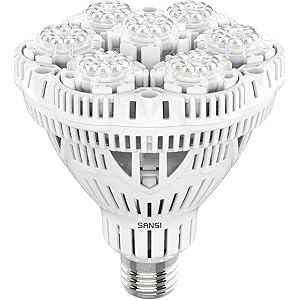
SANSI Grow Lights for Indoor Plants, Full Spectrum 36W Grow Light Bulbs (400 Watt Equiv) with Optical Lens for High PPFD, PPF 65.6 umol/s LED Energy Saving Plant Light for Indoor Growing Seed Starting
$31.41 (as of 01/02/2026 04:53 GMT -03:00 - More infoProduct prices and availability are accurate as of the date/time indicated and are subject to change. Any price and availability information displayed on [relevant Amazon Site(s), as applicable] at the time of purchase will apply to the purchase of this product.)
Sign up for our newsletter and stay up to date with exclusive news
that can transform your routine!


