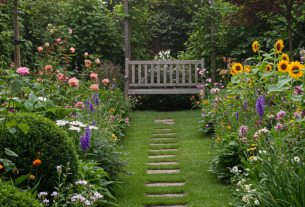
As a passionate garden enthusiast, I have always been fascinated by the beauty and tranquility that water features can bring to a space. The idea of creating an above ground pond in my garden was not just a dream; it was a vision I wanted to turn into reality. In this article, I will share my journey, insights, and tips for transforming your garden with an above ground pond. Together, we will explore the benefits, design ideas, maintenance tips, and much more. So, let’s dive in!
Why Choose an Above Ground Pond?
When I first considered adding a water feature to my garden, I was overwhelmed by the options. However, the above ground pond quickly became my top choice for several compelling reasons:
- Accessibility: Above ground ponds are easier to maintain and can be more accessible for planting and cleaning.
- Aesthetic Appeal: They can be designed to fit any space, providing a unique focal point that enhances the overall beauty of your garden.
- Wildlife Attraction: These ponds can attract a variety of wildlife, including birds, butterflies, and beneficial insects, which can contribute to a healthier garden ecosystem.
- Space Efficiency: Ideal for smaller gardens or urban settings where traditional in-ground ponds may not be feasible.
Each of these benefits resonated with me, leading to the decision to create my own above ground pond. But where do you start?
Choosing the Right Location
Before diving into construction, I knew that selecting the right location for my pond was crucial. Here are some key considerations that helped me in choosing the perfect spot:
- Sunlight: Most aquatic plants thrive in sunlight. I chose a location that receives at least 6 hours of sunlight per day.
- Proximity to Power Sources: If you plan to install a pump or lights, consider placing your pond close to an electrical outlet.
- Visibility: I placed my pond where I could enjoy the view from my patio and kitchen, ensuring it became an integral part of my outdoor living space.
- Drainage: Avoid low spots that may collect runoff water, as this could muddy the pond.
After careful consideration, I found a charming nook in my garden that perfectly suited all these criteria, setting the stage for my pond project.
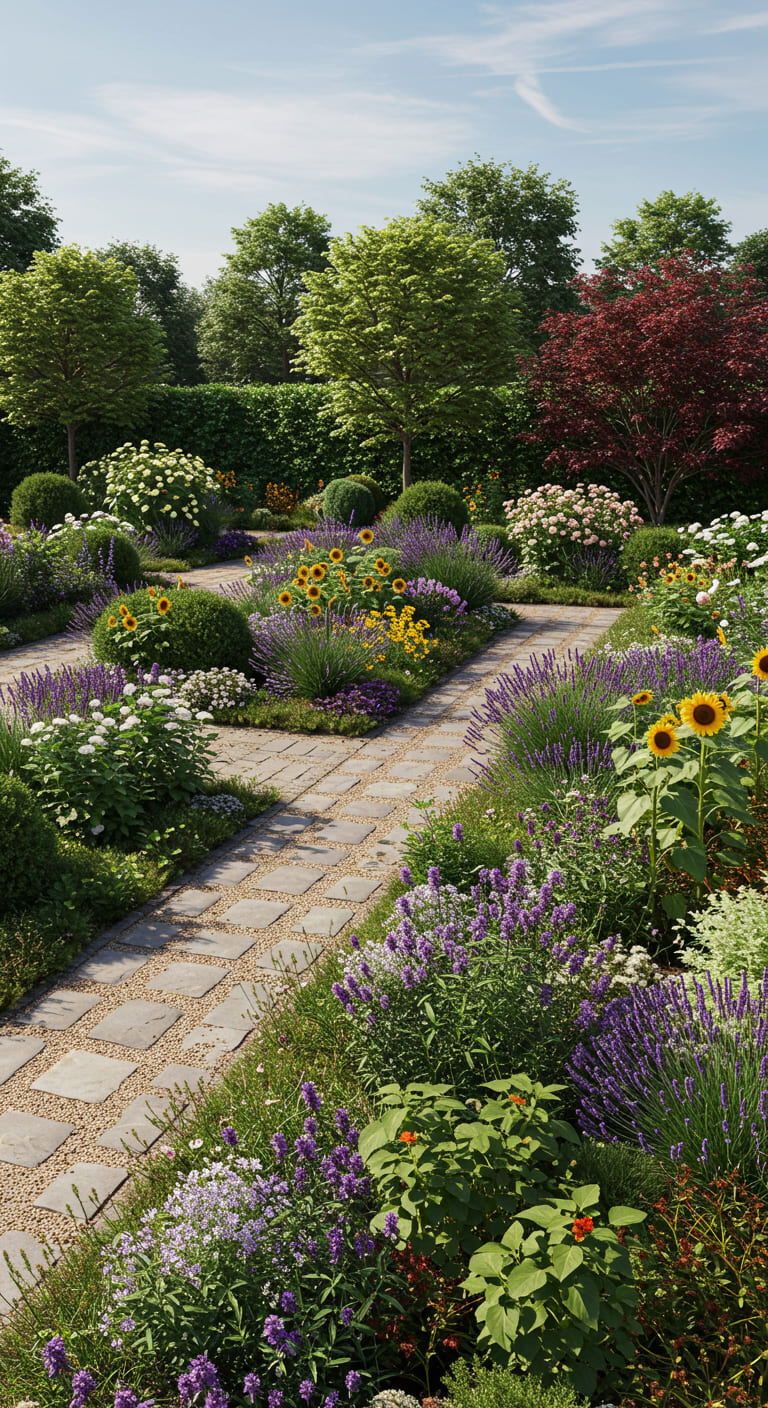
Designing Your Above Ground Pond
Now that I had the location, it was time to get creative! Designing the pond was one of the most exciting parts of the project. Here are some considerations that guided my design process:
Shape and Size
Above ground ponds come in various shapes and sizes. I decided on an oval shape, as it complemented the natural curves of my garden. Here are some shape ideas to consider:
- Rectangular: Great for modern gardens and can be easily integrated with decking.
- Circular: Provides a classic look and can be surrounded by stones or plants.
- Freeform: Offers a natural look, mimicking a pond found in nature.
As for size, I opted for a pond that was approximately 8 feet long and 5 feet wide, which provided ample space for plants and fish without overwhelming my garden.
Materials
Choosing the right materials for your above ground pond is essential. Here are the options I considered:
- Wood: I used rot-resistant wood to create the frame, which blended beautifully with the natural surroundings.
- Preformed Liners: These are convenient and come in various shapes. I considered one for ease of setup.
- Flexible Liners: This option allows for custom shapes but requires more skill in installation.
Ultimately, I decided to build the frame from wood and use a flexible liner, giving me the best of both worlds in terms of customization and aesthetics.
Incorporating Plants and Wildlife
One of the most rewarding aspects of my pond project was selecting the right plants and wildlife. Here are some tips I found helpful:
- Choose Native Plants: I opted for aquatic plants native to my region, as they are better adapted to the local climate and wildlife.
- Layering: I created different layers in the pond—submerged, floating, and marginal plants—to enhance biodiversity.
- Fish Selection: If you’re considering fish, choose species that are compatible with your plants and climate. I went with goldfish for their hardiness and beauty.
Integrating these elements not only beautified my pond but also created a thriving ecosystem.
Building Your Above Ground Pond
With the design in place, it was time to roll up my sleeves and get to work. Here is a step-by-step guide to building your above ground pond:
Step 1: Gather Your Materials
Here’s what I needed for my build:
- Rot-resistant wood for the frame
- A flexible pond liner
- Soil and gravel for planting
- Pump and filter system
- Plants and fish
Step 2: Construct the Frame
I started by constructing a sturdy frame using the rot-resistant wood. I ensured that the corners were reinforced for stability.
Step 3: Install the Liner
Once the frame was complete, I carefully placed the flexible liner inside, making sure it was smooth and free of wrinkles. This step is crucial for preventing leaks!
Step 4: Add Water and Plants
With the liner in place, I filled the pond with water and began adding my carefully chosen plants. I made sure to create a balanced ecosystem by layering the plants based on their sunlight and water needs.
Step 5: Introduce Fish
After allowing the pond to cycle for a few days, I carefully introduced my goldfish. Watching them explore their new home was a delightful moment!
Maintenance Tips for Your Above Ground Pond
Maintaining an above ground pond is essential for its longevity and health. Here are the maintenance tips I’ve learned through experience:
- Regular Cleaning: I clean the pond regularly, removing debris and algae to keep the water clear.
- Monitor Water Levels: During hot weather, I check the water levels frequently and top off as needed.
- Winter Care: In colder climates, I ensure that the pond is adequately protected during winter months, including using a pond heater if necessary.
- Check Water Quality: Regularly test the water for pH and other parameters to ensure a healthy environment for plants and fish.
By following these maintenance tips, I have enjoyed a vibrant and healthy pond that has become a centerpiece of my garden.
Inspiring Examples of Above Ground Ponds
To ignite your creativity, here are some inspiring examples of unique above ground ponds I discovered:
- Rustic Wooden Pond: A charming wooden frame filled with native aquatic plants, surrounded by rocks and pebbles, creating a natural look.
- Modern Minimalist Pond: A sleek, rectangular design with clean lines, featuring floating plants and a simple water feature for added serenity.
- Wildlife Habitat Pond: A pond designed specifically for attracting local wildlife, with native plants, logs for shelter, and shallow areas for frogs and insects.
These examples showcase the versatility of above ground ponds and how they can be tailored to fit any garden style.
Conclusion
Creating an above ground pond has been one of the most fulfilling projects I’ve undertaken in my garden. Not only has it transformed my outdoor space into a serene retreat, but it has also fostered a thriving ecosystem teeming with life. From selecting the right location and design to maintaining its health, I’ve gained invaluable insights that I hope will inspire you to dive into your own pond project.
Remember, the journey of creating your above ground pond is as rewarding as the end result. So, gather your materials, unleash your creativity, and let your garden flourish with the beauty of water!
FAQ
Q: How deep should my above ground pond be?
A: Generally, a depth of at least 2 feet is recommended for fish to survive winter and for plants to thrive.
Q: Can I build an above ground pond myself?
A: Absolutely! With the right materials and some DIY spirit, building your own pond can be a rewarding project.
Q: What are the best plants for an above ground pond?
A: Native aquatic plants, water lilies, and marginal plants like irises are great choices for above ground ponds.
If you found this article helpful, please consider signing up for our newsletter for more tips and inspiration! Also, feel free to share this article with friends and on social media to spread the joy of gardening!
MIXC 10 Packs Seed Starter Tray Seed Starter Kit with Humidity Dome (120 Cells Total Tray) Seed Starting Trays Plant Starter Kit and Base Mini Greenhouse Germination Kit for Seeds Growing Starting
$16.98 (as of 01/02/2026 04:53 GMT -03:00 - More infoProduct prices and availability are accurate as of the date/time indicated and are subject to change. Any price and availability information displayed on [relevant Amazon Site(s), as applicable] at the time of purchase will apply to the purchase of this product.)
Sign up for our newsletter and stay up to date with exclusive news
that can transform your routine!